Introduction
Disclaimer- Amazon affiliate links are used in this article. For this site, I choose to not pesture my audience with annoying advertisements, and instead, only rely on affiliate links to support this hobby. By using the affiliate link, you will pay the same price on Amazon, as you would otherwise pay, however, a small percentage will be given to me.. To note- I DID buy all of the seen products with my own money, and did not receive any incentive to feature or utilize them.
So, after fighting to get multiple ps4 controllers to work with my modified wii-u, when playing gamecube games…. I determined I wanted a much simpler solution, as simple as picking up the controller, and hitting play on a game.
Currently, in my livingroom, I have three devices.
-
Raspberry Pi 4
- This is used for retro-emulation. NES, SNES, Sega, PS1, GBC/GBA. It currently runs Lakka, which works great. The only downside- performance is not acceptable when playing N64. PS1 works most of the time.
-
Roku
- Used for all TV / Media. Works great. No Compliants.
-
Nintendo Wii-U
- I have soft-modded with haxchi. Allows me to play N64, GameCube, Wii, and Wii-U nearly perfectly. CAN play NES/SNES/Sega as well.
- Complaints- Controller support. A bit slow to get a game fired up.
What I hope to accomplish
I want a single, unified solution which allows me to play the following systems:
- NES
- SNES
- Sega Genesis
- Sega Dreamcast
- N64
- Gamecube
- Wii
- PS1
- PS2
- STEAM
Most of the above systems, can already be emulated without issues on my Pi with Lakka. However- For gamecube/wii/ps1/ps2, a bit more power is required.
For Steam- (playing modern games), even more power is required.
Ideally, I want to be able to turn on a controller, which will activate the system, and allow me to fully navigate the interface with a dual shock 4.
Wireless Bluetooth access is a must.
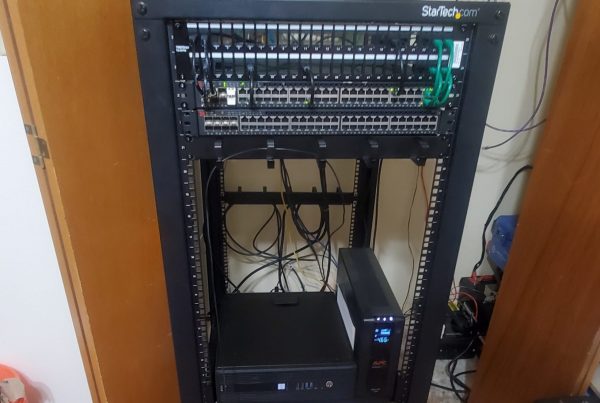
Compact size, is a MUST, since this device will reside in my livingroom, likely on the window-sill behind my TV.
Lastly, I don’t want to spend a small fortune, but, I do want some level of future-proofing.
Choosing hardware
Since, steam is on my list of requirements, I ruled out SOC hardware, such as raspberry pi. While an intel NUC could likely meet the requirement, I wanted a more expandable solution.
After much research, I decided on a HP z240.
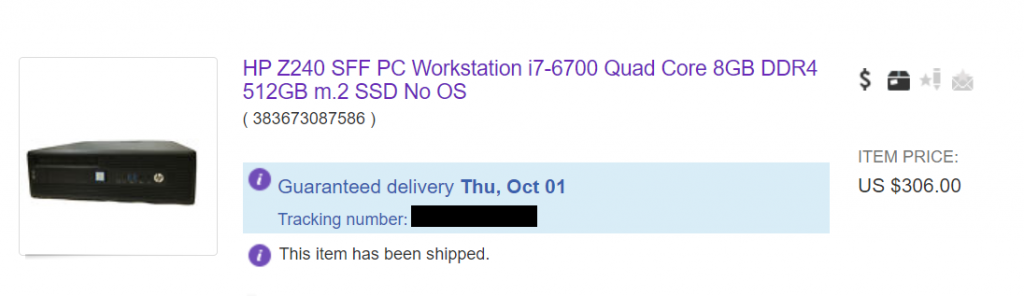
While, the cost was a bit more then I initially planned- I determined the 4c/8t i7-6700 would provide a good level of performance for most use cases outside of AAA gaming. As well- it comes with a 512GB m.2 ssd out of the box, with 8gb of DDR4.
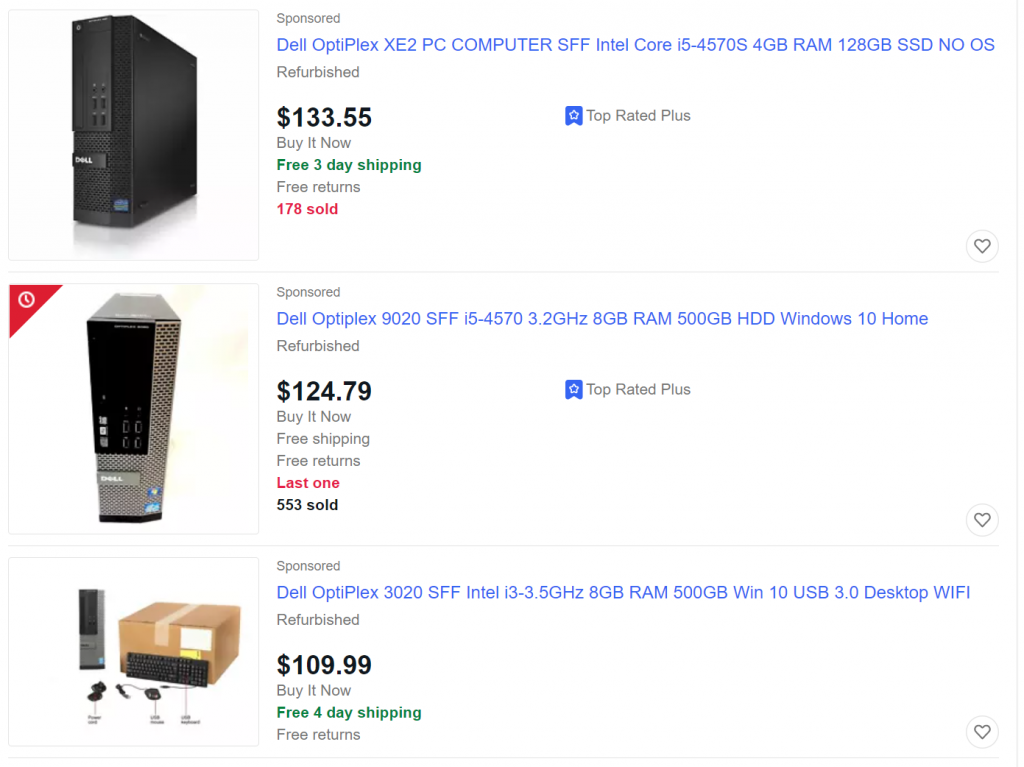
If you are intending on creating a retro/HTPC for yourself, and you don’t plan on playing games on steam, or anything newer then a PS1- you can get a suitable piece of hardware for slightly over 100$. If you are willing to wait and watch bids, I see options for as little as 20$.
Any of the below pieces of hardware would be more then adequate for retro emulation.
If you do not know how to use the search feature, here is a LINK for you.
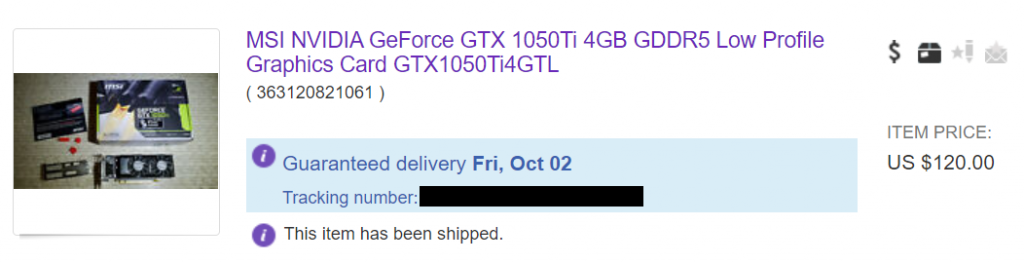
Next- since I want to be able to play most of my steam library, a GPU is almost a must.
Due to the power-supply limitations on the chosen hardware, a GPU without the requirement for external power was required.
Meet the GTX 1050ti, Low Profile. You can technically order one new from Amazon for only a couple bucks more then my eBay version. But, after a bit of research, this GPU was reasonably priced, and should provide a good boost to most games.
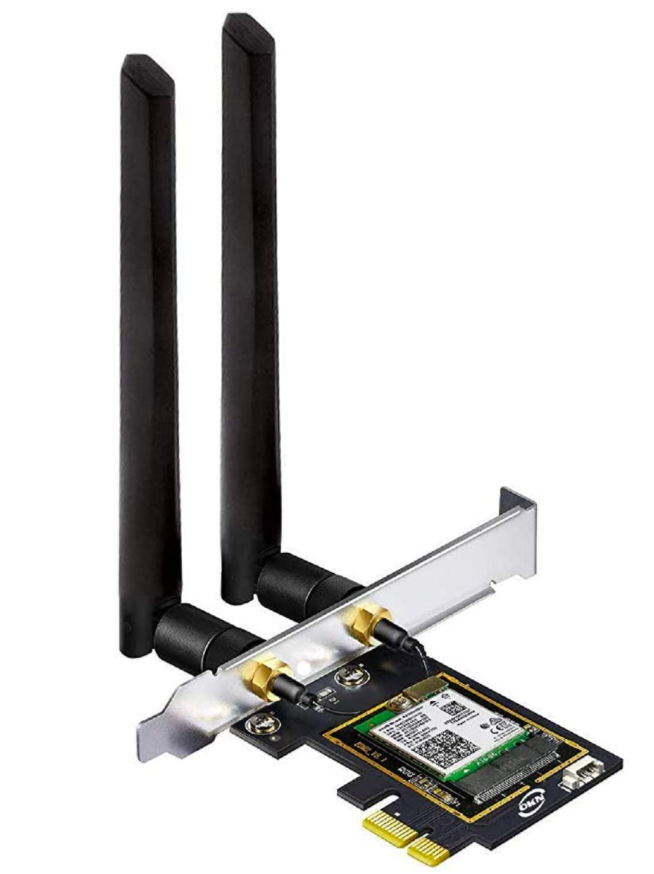
Lastly- since the chosen hardware did not support Bluetooth OR wifi out of the box, I needed a good wireless adapter, with GOOD linux compatibility. (Bad compatibility means a lot of time and effort would be spent trying to force the adaptor to work properly).
After researching a bit on reddit, I determined Intel ax200 based chipsets have amazing combability, and will grant me the capability for both 802.11ac Wi-Fi, as well as Bluetooth.
For 29$ shipped, I picked up this no-name adaptor, which uses a intel ax200 chip. It does include the required low-profile bracket, and antennas.
Lastly, you will need a good method on how to control your HTPC system. I decided on using official Sony DualShock 4 Controllers. <- Affiliate Link.
I went with the dual shock 4, because it is usable for multiple systems, and multiple purposes. You can use it wirelessly via Bluetooth. You can using it hard-wired. I can use it with my Wii-U using Nintendont. It will connect to my normal gaming PC. It is fully supported on a Raspberry PI.
In short- it is wireless, very flexible, and highly supported.
Oh- and it has a built in trackpad and functions as a mouse. Huge win.
I picked up two. (Coop with the wife!)
Choosing an operating system
This was the challenging part.
While, I could easily go with Lakka, Recalbox, or Batocera… which are all purpose-built retro-gaming OS distributions…
I was afraid of trying to hack in support for steam, or other software. IF, my only requirement was for retro emulation, I would have likely stuck with Batocera, due to a pretty interface, on top of retroarch. BUT…. support for any piece of software, game, or even server software was desired…
Based on that, I narrowed my choices down to…
Ubuntu / SteamOS
Both of these have an outstanding upstream package repository, and extremely good support for most hardware.
However- Ubuntu can be quite a bloated installation.
SteamOS would have been a great option as well, however, its latest release was in July of 2019. Based on the lack of recent releases, I crossed this item off of the list.
Manjaro
Manjaro is based on arch. Its advantages over ubuntu, included less bloat installed by default…. and- a unique updates model.
Its update model is based on frequently rolling updates, with the option of being able to choose bleeding edge updates, days or weeks after they are released. Its kernel also stays extremely recent.
I did not know this before- but, apparently it has a very good package repository. As another plus- there are no PPAs!
There is also the “Arch User Repository” which would give the ability to install damn near anything I can think of.
In the end, I decided on Manjaro for the above reasons.
Choosing a desktop environment
For this particular use-case, my goal is for everything to be 100% controllable via a bluetooth dualshock 4 controller. I picked up a few of these, despite not having a PS4, because they are extremely compatible with just about everything.
They work flawlessly on my Lakka-based pi4. They work for gamecube mode on my Wii-u, using nintendont (not flawlessly, and corded mode only). They work on my regular PC…
And- they even have a built-in touchpad. The controller is very ergonomic to hold and use…. and overall- is extremely well designed. I am happy with the choice.
So- for the default desktop environment, I went with XFCE, to get a lightweight environment. However- my goal is to launch directly into Steam big-screen picture.
Part 2 – The Build
After all of the parts had arrived, it was time to put everything together.
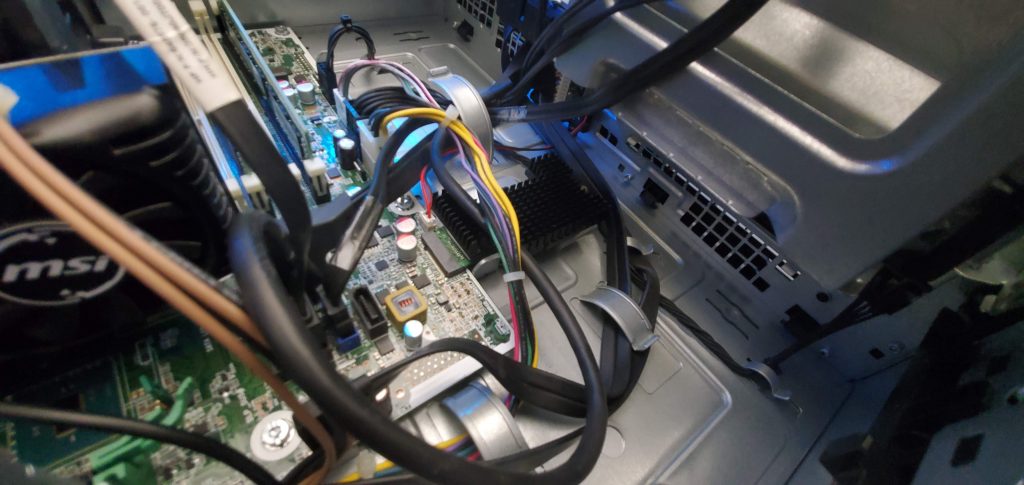
Thankfully- both Dell and HP have ensured their SFF cases are easy to work with. Everything folds out for easy access.

Here is another view of the NVMe ssd.
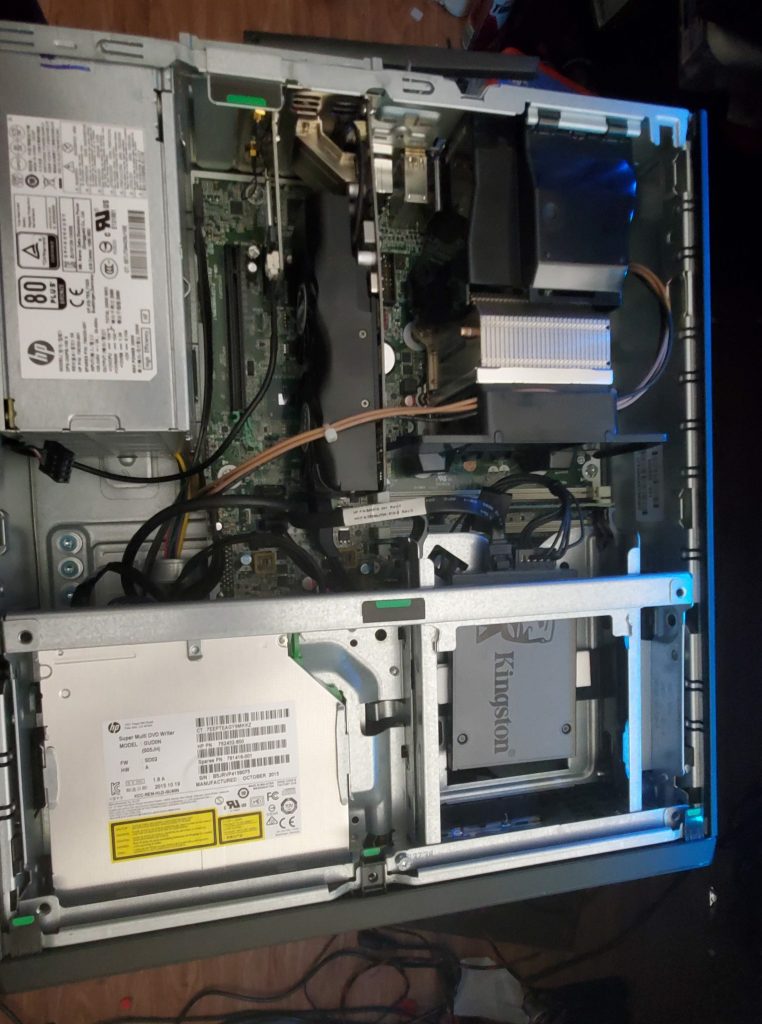
Case “closed up” You can also see the additional SSD I added for storing roms and other software… as well as the DVD+RW drive.
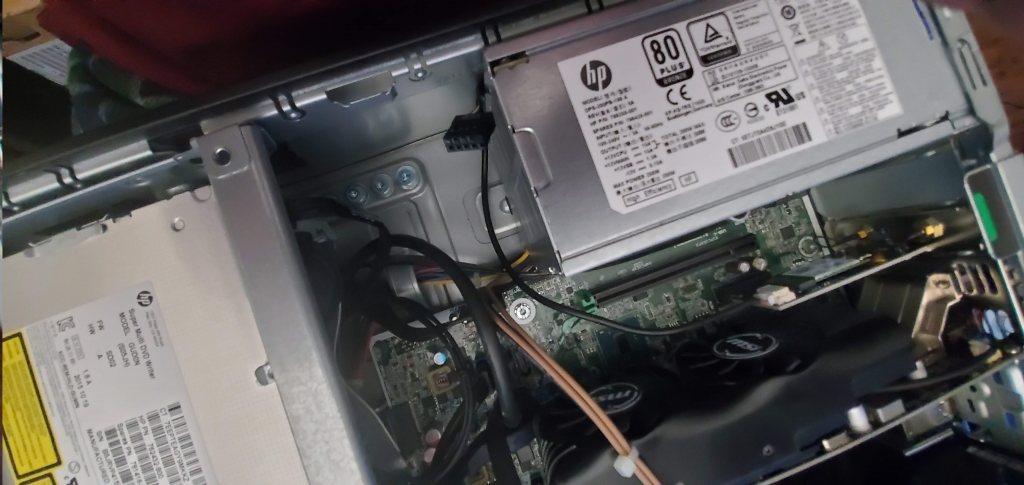
The ONLY major concern…
The only major concern I have had with this entire build… is the 200w power supply.
Now,
Many people would automatically think a 200w PSU would not work at all….
(65w tdp processor… 75w tdp GPU, 1x NVMe/m.2 SSD, 1x sata SSD, Intel ax200 wifi/bluetooth card…. and a DVD-RW)
Surprisingly, it actually works just fine.
To test the PSU as a limitation, I ran a 8 core CPU burn test and held the processor at 100% across all cores, for around 15 minutes, while running a 4k game in the background.
This test, while not scientific, was able to keep the CPU at 100%, while keeping the GPU loaded > 80%.
I can report- no issues at all were caused by insufficient power… However- I can also report, the stock cooling solution for the processor is barely adequate. The i7-6700 hovered around 94c… while within “spec”, this is extremely hot.
But- since this machine will hardly ever be utilizing anywhere near 100% of the 4c/8t processor, I left the stock cooling solution in place.
Part 3 – A bit of configuration
The quest to find a good desktop environment.
This was the hardest choice.. trying to determine how to best boot the system into a controller-only interface.
Retroarch
I started off using a custom xsession to have the system automatically log in to a retroarch-only session. This has the advantage of not loading a full desktop environment.
Overall- it worked great, without issues.
If you wanted to know the steps to accomplish this- open the spoiler below.
Kodi
The downside of using retroarch, is the ability to launch external software… such as steam, or pcsx2 (for ps2 emulation that actually works….)
Since Kodi is very popular in the HTPC place, I wanted to try it.
I leveraged Advanced Emulator Launcher to take care of organizing and launching the different game systems.
Overall- it was a pretty nice piece of software…
But- I was not very happy with the interface of Kodi. While it is extremely customizable to however you want it to appear, I was having a few issues getting my dualshock 4 controller to properly control it. I gave up on this approach and removed it.
Steam
While I have had steam installed since setting up this PC, and originally had planned on using steam as the main launcher.. I held off on this until last.
Steam has a few advantages over Retroarch, in the sense it can launch external programs with ease.
For native-steam games, nothing at all is required for it to work. Steam automatically detects the dual shock 4 controllers, and works without issues in big picture mode.
For my emulated games, a solution is required to display them in steam.
Enter Steam ROM Manager.
This gem, allowed me to setup scrapers for all of my systems, download art work, and enter everything into my steam library with the proper launch arguments. It allows me to launch most of my systems via retroarch, using my normal configuration file and works perfectly.
For PS2, I was able to set it to automatically load/launch the games via PCSX2, which worked flawlessly.
Overall- this has been my favorite method.
The only issue I have been having, is getting steam to launch in its own “session”, without loading the full desktop environment. However, I have not noticed any performance penalties from having it auto-start in XFCE.
Anyways, I hope this article has been handy for somebody. Please leave your comments below if you have any.
Final verdict / Conclusion
I rate my current progress of this built a 8.5/10.
PROs:
- Easily emulates NES/SNES/GBC/GBA/N64/PS1
- My Pi-4 could do this as well! with the exception of N64.
- Easily emulates PS2 / GameCube / Wii
- My Pi couldn’t handle these. Nearly flawless emulation for most of the games using dolphin / pcsx2.
- Can even use wii motes without issues.
- Can also play most of my steam library.
- Even GTA:V works just fine on this setup!
- Since it is a PC, running Linux, it is extremely flexible to future needs as well.
- The hardware is pretty much silent. You cannot hear it. Also- relatively low powered.
- After setting up everything, its effortless for the wife to control this system using only a PS4 controller.
CONs:
- It took a bit of knowledge to get everything setup the way I wanted. You could technically do this same build using windows without much impact if you wanted to make setup easier.
- I had to use a USB bluetooth adaptor, due to a shortage of usb headers on the motherboard. HP’s bios wouldn’t let me repurpose the existing header to the front usb 2.0 ports… without halting the OS at boot.
Hey! I randomly stumbled on your site in building a low-end RetroPie build for just old systems and wanted to chime in. If you are trying to a do-it-all emulation system like I do with my high-end cabinet that covers a bit more, what you want is LaunchBox. I tried going that same route with Linux and it was mired with compromises of the systems I could emulate or the ease of use of scraping or the slickness of the UI. LaunchBox with BigBox is way better across all fronts and is totally worth the lifetime license.
I ended up finding an easy solution by using separate environments.
For doing retro/emulation, I have a profile which launches directly into retroarch, allowing me to emulate everything under the ps2. For doing steam/native or ps2, I boot into the normal UI, which I can navigate with the PS4 controller. Overall, I have been extremely satisfied with the setup. Me and my wife have been using it damn near every night since I put this box together. At this time, we are playing 7 Days to Die on it, with no issues at all.
I will bookmark launchbox, and evaluate it the next time I am messing around with that box. I will say- I did try many other launchers with…. less then desirable success.