Introduction
So, I am planning a camping trip later this year… and I thought, it sure would be nice to have a fan blowing on me while I am sleeping….
After I did some research, I realized it’s a bit more complex then putting a few cheap lead acid batteries together. I also didn’t want to run a generator all night long.
Also, If I had to spend any serious money, I needed something which would be very useful to me in other ways as well.
So, I decided to build a portable inverter/power supply, which can also serve as a UPS system for my servers, and eventually, be storage for the solar panels I will eventually acquire.
Disclaimer- Amazon affiliate links are used in this article. For this site, I choose to not pesture my audience with annoying advertisements, and instead, only rely on affiliate links to support this hobby. By using the affiliate link, you will pay the same price on Amazon, as you would otherwise pay, however, a small percentage will be given to me.. To note- I DID buy all of the seen products with my own money, and did not receive any incentive to feature or utilize them.
Parts and Tools.
Parts
-
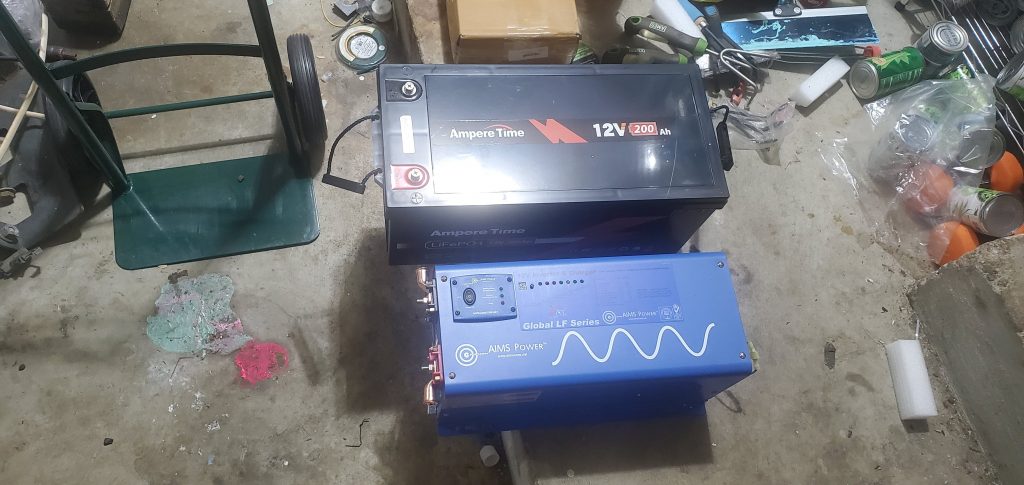
12v 200Ah LiFePO4 Battery – Ampere Time – ~800$
- I went with this battery, because of its extremely good capacity/cost ratio. If I had extra money laying around, I would likely choose a battle born battery. I hear very good things regarding them.
-
AIMS 2000W RMS / 6000W Peak Pure Sine Wave Inverter AND Charger – PICOGLF20W24V120VR. – 800$
- I took this route, because it offers a PURE SINE wave inverter, and 100 amp charger.
- If you wanted to save money, you could instead, get a GIANDEL 2000w/4000w peak modified sine wave inverter for 150-175$… and then, add a seperate charger. (Victron Smart Charger – 25 Amp)
-
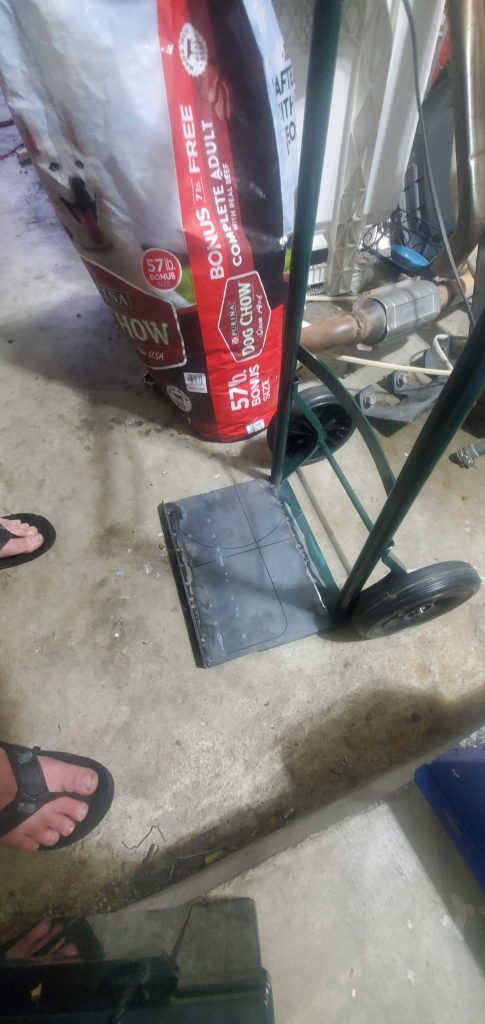
A cheap STEEL dolly. – 35$
- This isn’t required, but, I wanted to mount everything to a platform, to make this entire setup extremely easy to move around.
-
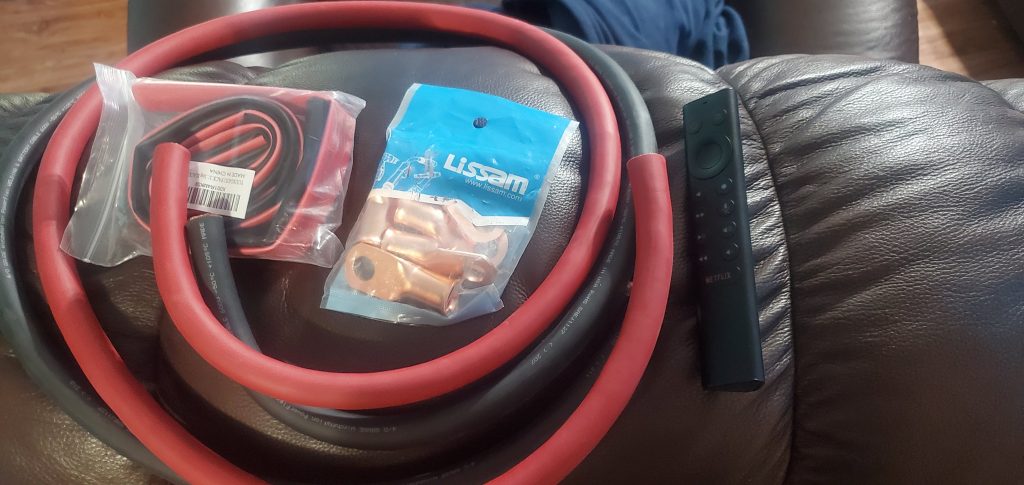
4/0 Pure Copper Wire. – 80$
- This size wire is likely overkill for now. But, in the future, I want to add more batteries. So- large gauge wire is cheap insurance to ensure my cable is never the weak point. Also- less resistance losses at 12v.
-
4/0 Cable Lugs – 12$
- Gotta be able to connect the cable to your batteries, right?
-
3/4″ heat shrink wrapping – 10$
- Makes your cable look very nice and professional. Also, keeps water out.
-
Victron SmartShunt – 500 Amp – 130$
- This is your eyes into what your system is doing. It measures the amount of current being consumed, your voltages, and integrates with other victron products pretty easily. This is an optional component, but, I would recommend it, as it gives a lot of very good metrics.
-
Victron Battery Protect – 12v / 100 Amp. – 60$
- This is actually a integration point for a secondary, smaller inverter I have. This will ensure I do not overdraw the capacity of the battery. It can automatically shut off if the voltage is either too low, or too high. Do note- it only supports energy flowing in one way. So, it will not work with the AIMS charger/inverter I linked above.
-
6 Foot, 12GA 3-Prong Cord. – 22$
- This is to plug the inverter into the wall / generator, so you can charge your batteries.
-
300 Amp Fastronix Battery Disconnect Switch – 50$
- This is a solid, well made switch.
Tools
-
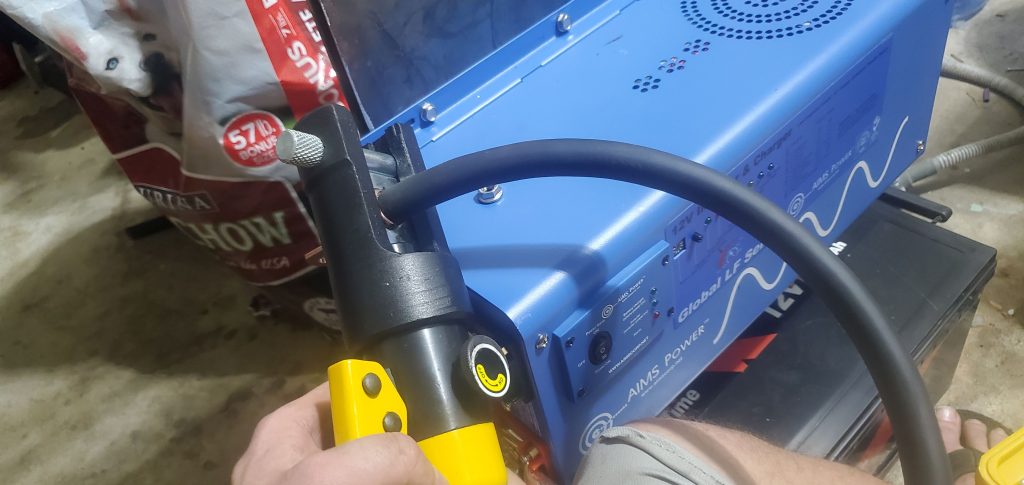
Hydraulic Wire Crimper. – 135$
- If you want to make a good, solid crimp on very large gauge wire… you are going to need a good crimper. This one was cheap, and did get the job done.
-
Klein CL900 Clamp Meter – 140$
- If you are going to mess with batteries, and high currents… you NEED to be able to measure the amount of current flowing through a cable. There are much cheaper options, However, I choose this tool, because it allows me to measure both AC current, as well as DC current, and AC frequency. It is actually a high quality tool.
-
Cut50D Plasma Cutter – 250$
- Its dirt cheap, and it has yet to fail me. For the price, I have expected it to catch on fire, or explode… but, it DOES work. It makes cutting the steel go a lot faster then using a die grinder.
The Build
The first step- was to plan on the best way of mounting everything. After looking at my options, I decided to put the battery on the bottom of the dolly, and mount the inverter about mid-way up.
With an idea formulated, I started measuring and cutting steel. I used 16ga steel plate, and some angle iron I salvaged from a bed frame.
At this point, I had a nice solid location to place the battery, which would keep it secure. There is a piece of angle iron on the front, to keep the battery from sliding forward.
Everything was tack-welded together using 6011 rod, with my AHP AlphaTig. It would have beautiful tig welds, but, somebody… left the argon tank open.
The next step, was to build a backing plate, to which I could mount all of the other components to. Luckily- I happen to have a small stash of 16ga steel sheet in my garage.
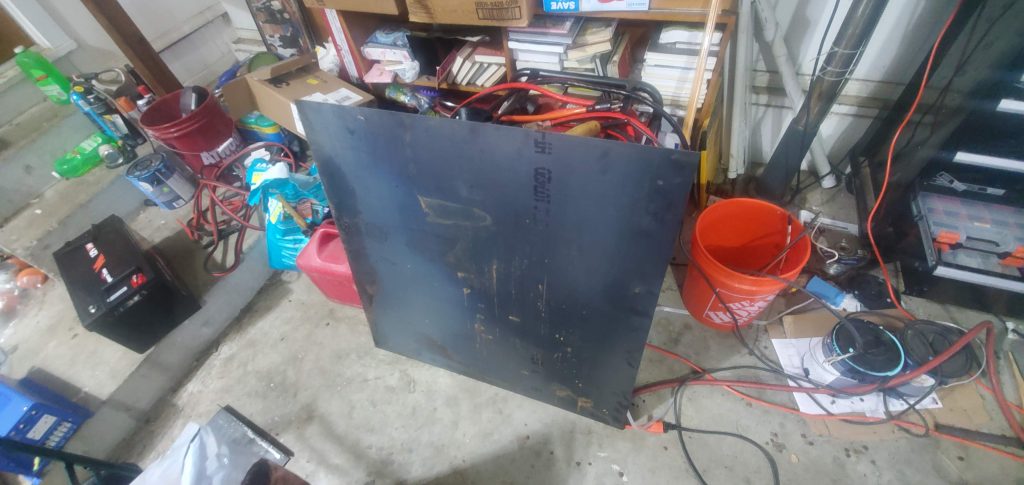
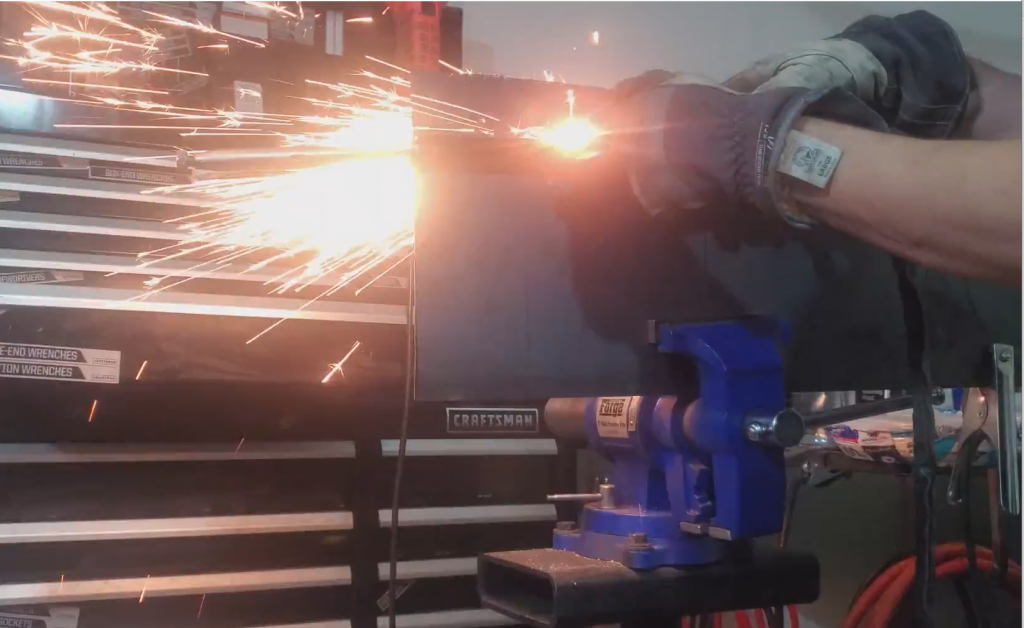
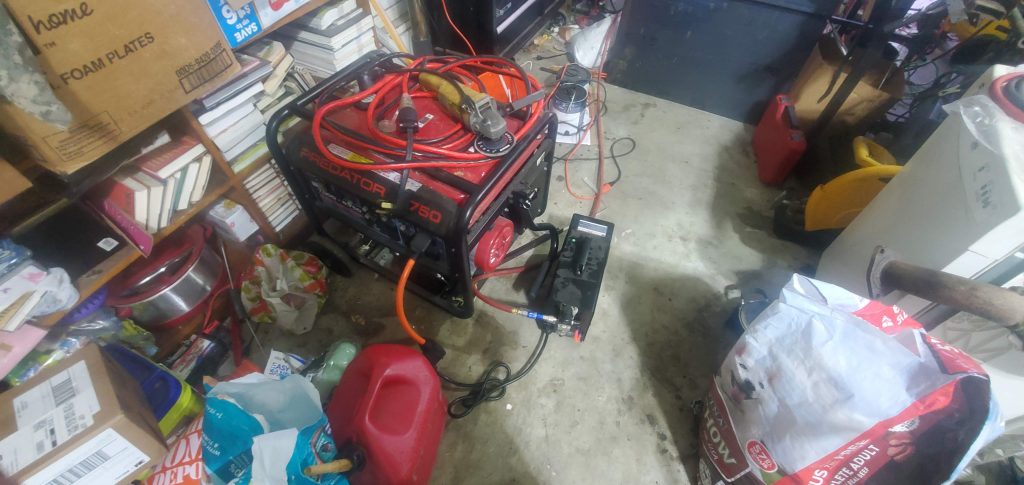
SINCE…. my breaker kept flipping from the plasma cutter, I fired up my generator to finish the cutting.
Remember, Measure twice, Measure again, Cut once. I have a piece of angle iron clamped to the sheet to guide the plasma cutter.
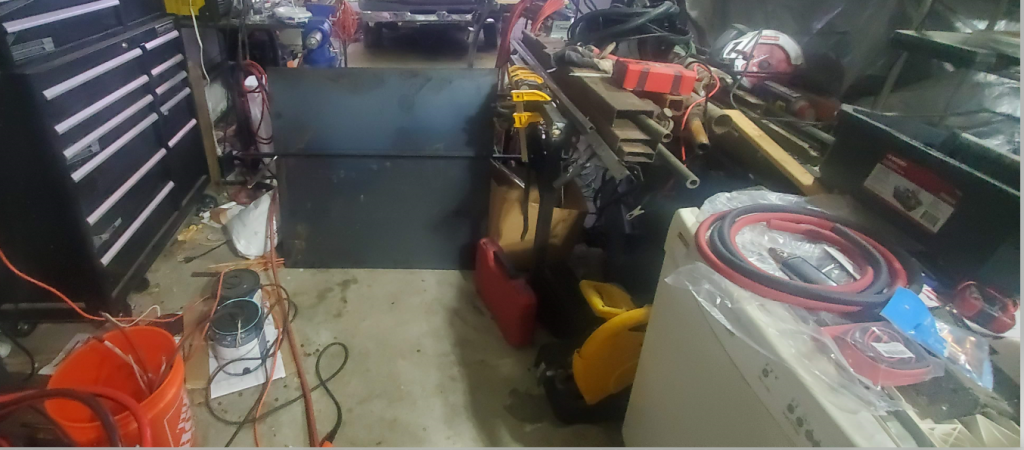
After cutting the sheet, I laid the components onto it, to double check everything would fit as expected.
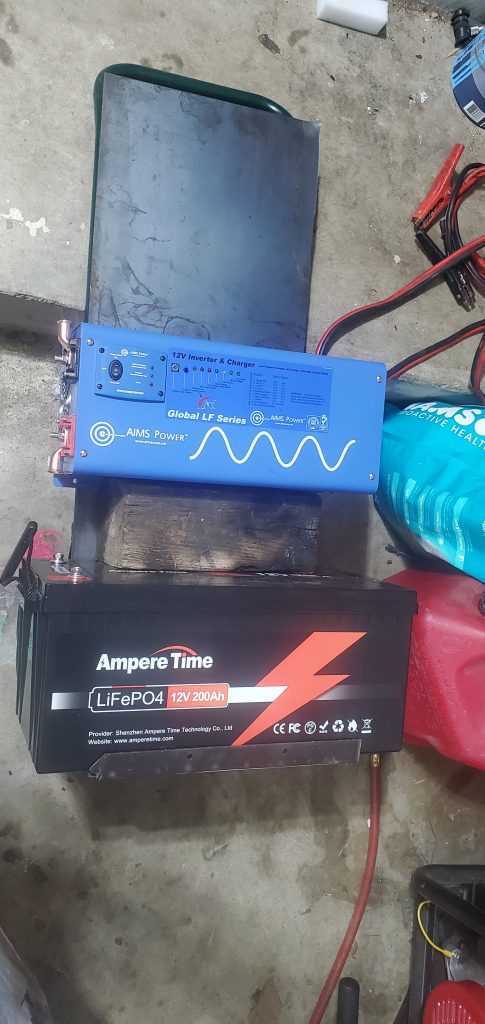
After doing a rough draft, I welded the backing panel to the cheap dolly, and then used self-tapping, stainless-steel bolts to attach the inverter to the backing plate.
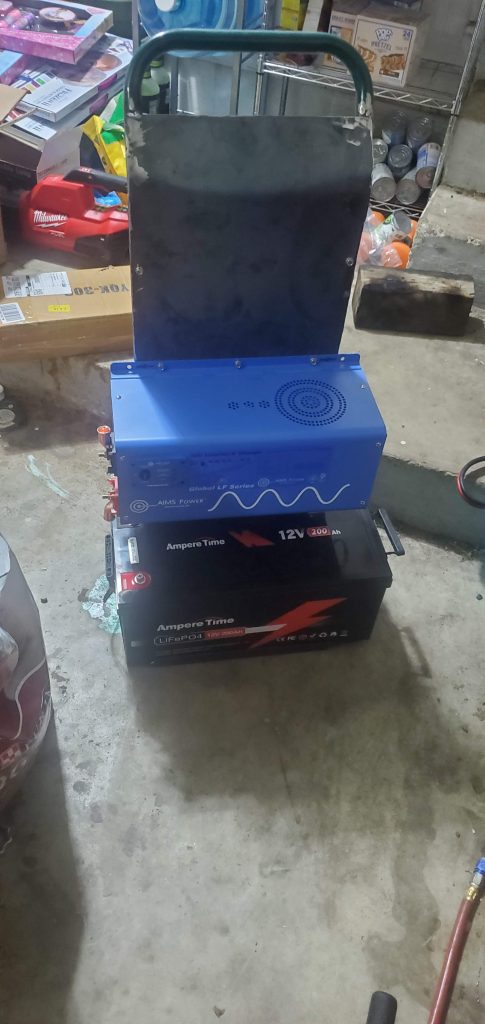
Since the base components were all mounted, I decided to start knocking out the cable leads.
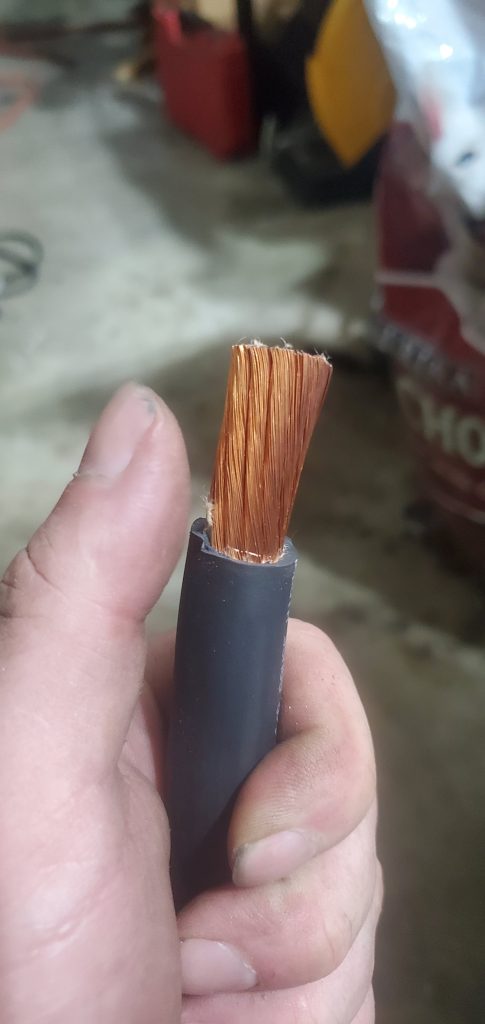
I used the dies marked “95” which gave the best quality crimp… and leveraged the hydraulic crimper tool.
After verifying the crimps were nice and tight, I used heat shrink to cover up the connections.
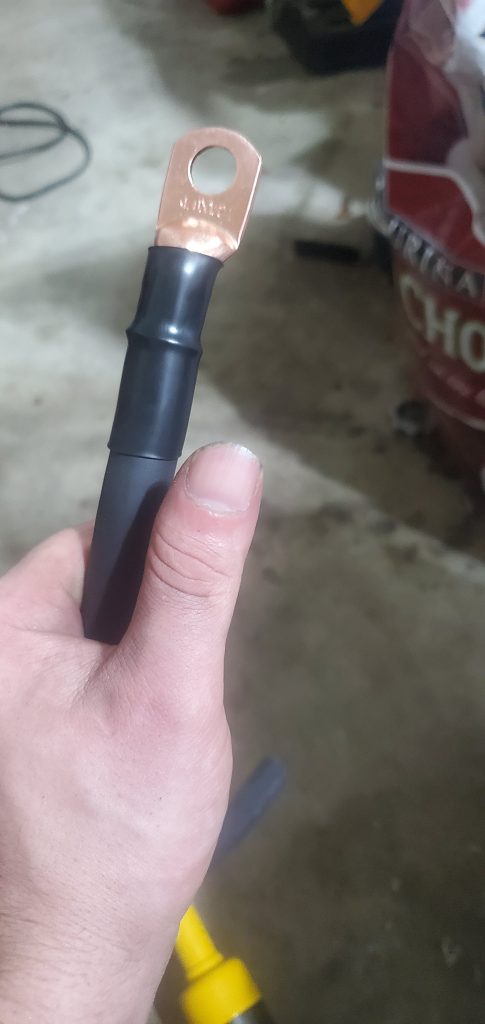
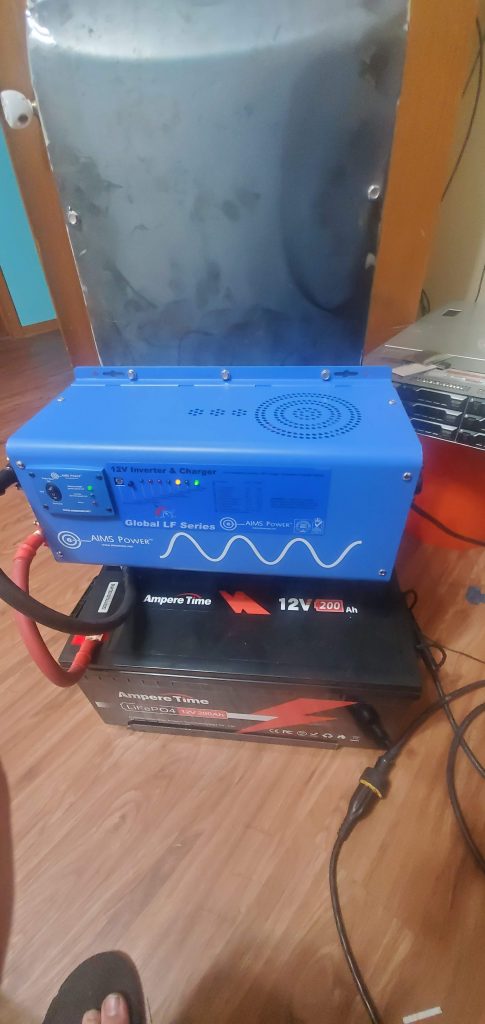
At this point, the basic components are done, and the system is complete enough to be operational.
Do ensure you set the Inverter/Charge’s mode to LiFePO4, which was option “7” in my manual. It is also printed on the front of the unit.
Unexpected power outage
LITERALLY, the day after I put this unit together, we had a transformer fuse blow near my house, causing around 2 hours of total power outage while the crews had to clear a lot of trees and brush.
Well, guess what, this unit was able to power my server, AND my gaming PC and full network stack, without any issues, at all.
Round 2 in the garage.
So, after giving it a reasonable test, it was back to the garage for making it look a bit better, as well as adding more safety and monitoring features.
Step 1- I removed everything from the chassis, and added a coat of black primer rattle-can paint. The primary purpose here, was to cover the exposed metal, to keep it from rusting.
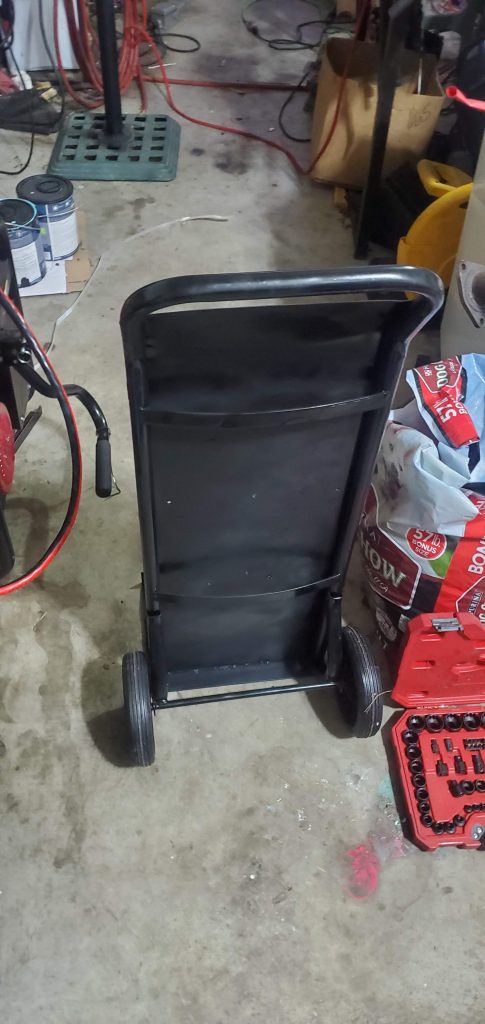
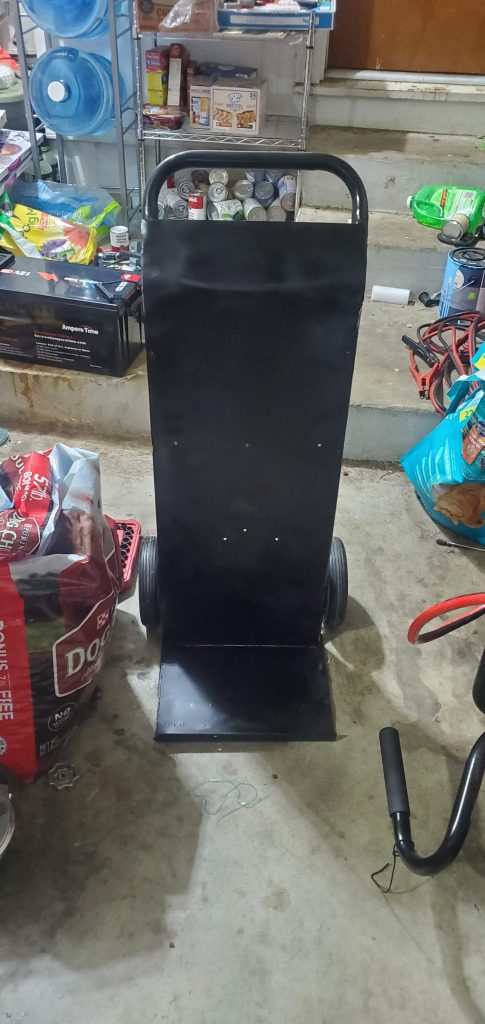
The next step, was to add some safety features.
First, I added a Victron SmartShunt – 500 Amp, which will provide me insights into the status of my system. This system provides crucial details, such as the overall state of my battery, remaining capacity, and current utilization.
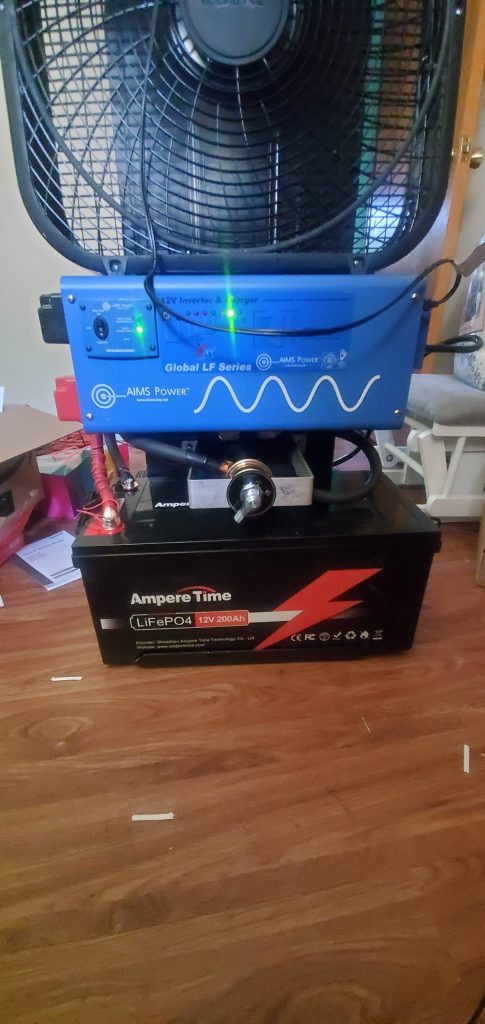
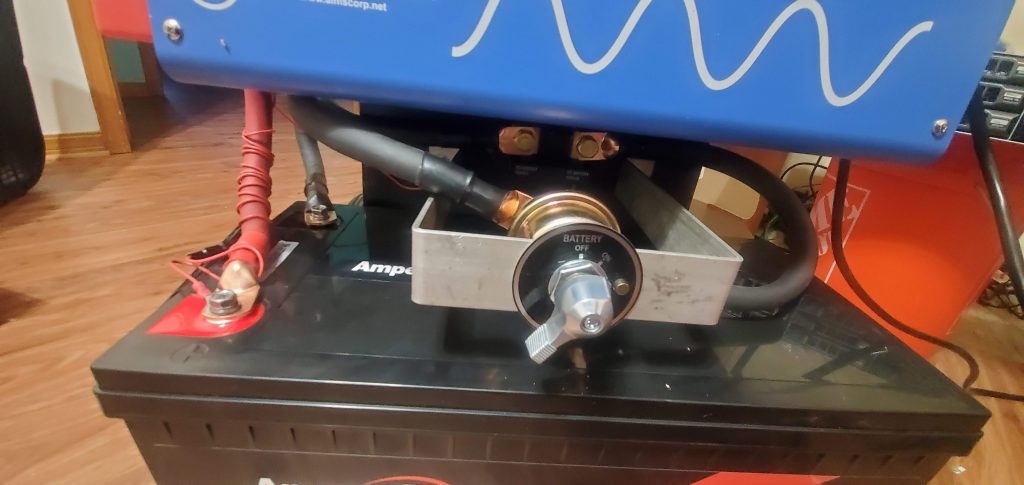
The next step, was to add a manual shut off switch. In the event fire starts erupting from any of the components, you need a quick way to completely shutoff the battery. To achieve this goal, I leveraged a 300 Amp Fastronix Battery Disconnect Switch, which is a quite solid piece. The switch feels nice and firm, and has a good click action to it. As well, it does have provisions for powering one smaller circuit as well.
To mount the switch, I bent a strip of 1.5″ aluminum strip using a vise and a hammer. I did not take any pictures of the above two steps, however, you can see the cutoff switch mounted between the battery, and the inverter/charger below.
Final Notes
Overall, this unit is working well for its intended use-case as a portable power supply. It is easily portable, and offers a very good amount of capacity.
If- I were to start over from the beginning-
- Get a 24v battery, or instead, two 12v batteries to make a 24v system. 24v system would mean the inverter would be smaller, and the wire would not need to be as thick to serve its intended purpose.
- Get a seperate inverter, and charger. I think this would have saved quite a bit as well. As well, the inverter I went with, will either, 1. Drive your loads from the battery, or 2. Drive the loads from the grid, while it charges the battery. There is no option for using battery power while charging from the grid. (Useful if your grid…. is having a lot of issues and fluctuations….
- The inverter I have, has a 10ms switch over time to failover from grid, to battery. For backup purposes, or portable power supply purposes, this is not an issue. But, When this isn’t being used for camping, or other areas where I need a portable 110v power supply- I plan on using this as a very large UPS system for powering my servers, and networking equipment. I calculate it can keep my server running for around 8 hours. (with a 300watt load…)
Overall, I am happy with how this product turned out. As a bonus, during normal UPS usage, this battery should last 10+ years…. which is fantastic, since most of the cyberpower/APC UPS devices I have… are lucky to last over a year before their battery gives up….
Other Notes and Future Goals.
I am well aware 4/0 gauge wire is complete overkill for this setup in its current state. However, I plan on adding more batteries in parallel, until I have enough batteries to chain in series to make a 48v system.
I also plan on adding solar panels, and a charge controller in the future, to allow my server to be completely powered by solar panels. I estimate the total cost of this project including the solar, will be around 2,000-2,500USD, and will actually be able to pay itself off in around 5 years.
The end goal, will be a completely self-powered system, which will run my servers, networking gear, my computers, television, lights, and other electronics. So… stay tuned for more updates on the end goal.
FAQs… Frequently Asked Questions
Why don’t you just buy a generator? It would be a lot cheaper.
I have one. But, to explain the reason- I have a bunch of frequent, but, short power outages, which usually ranges from 30 minutes, to two hours. By having this battery bank, I can easily run all of my networking, and computer equipment directly from this battery without having to drag out and fire up the generator.
Also, the future goal, is to start slowly converting the house over to solar. This is one of the first pieces I need… More to come.
Why didn’t you buy (insert cheaper battery option here)?
I had a lot of time constraints on this project… Many of the other options, such as assembling battery packs from prismatic cells, are indeed more cost effective. However, I didn’t have the time to order and have the parts arrive, before I needed to utilize this system.
Why didn’t you use lead acid batteries, they are much cheaper?
Two reasons.
First of which- lead acid batteries don’t have a long life span. With any regular use, you would be lucky for them to last 5 years. Lithium iron phosphate batteries can be fully discharged, and charged over 3,000 times, before losing 10% of their total rated capacity. Lead acid would be lucky to hold any charge after 5 years.
The next of which, is capacity. If you discharge lead acid batteries to less than 50% of their capacity, it greatly accelerates capacity loss. LiFEPO4 can be fully charged, and discharged without any measurable side-effects.
Why not just use a (insert APC/Cyberpower/other UPS here)?
I have a UPS on almost every computer in my household. They do work. However, they have a few issues.
The first- they use lead acid batteries, which will need replacing every couple years, since my power here is not quite as stable as I would hope.
Next- the total capacity is pretty small. My Cyberpower 1500AVR, which I use to connect my server, can only run the server for 15-20 minutes before its battery is dead.
Lastly- while I could technically replace the internal 12v/24v battery, with a much larger battery, the consumer units are not rated for continuous use, and will generally overheat and die without additional cooling provided. Also- this build is going to be much more than just a simple UPS…. just not yet.
Why didn’t you use a 24v or 48v system?
Good question.
Actually- in the future, I will be expanding this system up to 48v hopefully. But, due to cost constraints, I settled on a simple 12v system for the time being.
As well, in the future, when I upgrade the system to 48v, I can reuse the inverter for automotive purposes. Imagine having a few 110v outlets in the back of the suburban while you are out camping… with the option for adding grid power to recharge your batteries.
When we go camping in it, I can add a mini-fridge, and perhaps even toss a few solar panels onto the roof to keep the batteries charged up.
But- that is a future goal. However- stay tuned, and hopefully soon, the articles regarding the new 1,000hp square body suburban family car should start popping up.
