
Installing POE Doorbell
Tonight's project was to install a POE doorbell.
This post goes through pulling cable, terminating cable, installing a patch panel, and finally adopting a new POE doorbell.
Parts/Tools Used
Cable Termination
- Klein VDV427-300 Punch-down ToolAmazon affiliate linkAs an Amazon Associate I earn from qualifying purchases at no additional cost to you; using this link helps support the site.
- This was used to terminate keystones in the patch panel.
- Klein VDV826-763 Pass-thru CAT6Amazon affiliate linkAs an Amazon Associate I earn from qualifying purchases at no additional cost to you; using this link helps support the site.
- These are my preferred RJ45 connectors.
- I have tried these Cable Matters RJ45 connectorsAmazon affiliate linkAs an Amazon Associate I earn from qualifying purchases at no additional cost to you; using this link helps support the site., however, received less then desirable results. Klein connectors just work every single time for me.
- Klien VDV226-110 Ratcheting CrimperAmazon affiliate linkAs an Amazon Associate I earn from qualifying purchases at no additional cost to you; using this link helps support the site.
- This was used to terminate the RJ45 push-thru connectors. And for cutting cable. And for stripping cable.
- Klien VDV501-851 Scout Pro Cable TesterAmazon affiliate linkAs an Amazon Associate I earn from qualifying purchases at no additional cost to you; using this link helps support the site.
- For the purposes of this post, this tool isn't going to do anything you couldn't do with a standard 10$ cable tester.
- However, I have been running and tracing an absolute ton of cable, and this has came in quite handy.
- Klien 80066 Precision Screwdriver KitAmazon affiliate linkAs an Amazon Associate I earn from qualifying purchases at no additional cost to you; using this link helps support the site.
- Didn't have a bit small enough with my impact driver, however, this set had me covered.
- Cable Matters: CAT6 1000ftAmazon affiliate linkAs an Amazon Associate I earn from qualifying purchases at no additional cost to you; using this link helps support the site.
- My third box. Great cable. No issues.
- Don't cheap out and buy CCA. You will regret it. Its not worth it.
- Cable Matters: RJ45 BootsAmazon affiliate linkAs an Amazon Associate I earn from qualifying purchases at no additional cost to you; using this link helps support the site.
- Makes the job look that much nicer.
- Cable Matters: CAT6 Keystone JacksAmazon affiliate linkAs an Amazon Associate I earn from qualifying purchases at no additional cost to you; using this link helps support the site.
- Keystone jacks. Nothing special. These do come with a nice handy “holder” which keeps you from stabbing your hand when using the punch-down tool.
- Multi-Cable SecuresAmazon affiliate linkAs an Amazon Associate I earn from qualifying purchases at no additional cost to you; using this link helps support the site.
- These are FANTASTIC for keeping cable runs organized. Notice all of the pretty and organized runs of cable in my attic?
- Well, that is due to these clips. I'd highly recommend.
Note… I am not affiliated or sponsored by Klein. I just have had very good luck with their tools, and would recommend them.
Products Used
- Unifi Doorbell Lite
- A 99$ POE doorbell camera from Unifi.
- 6 Port Patch PanelAmazon affiliate linkAs an Amazon Associate I earn from qualifying purchases at no additional cost to you; using this link helps support the site.
- These are honestly, quite nice. I ended up buying a handful of them on a good sale.
Getting Started
Pulling CAT6 to doorbell
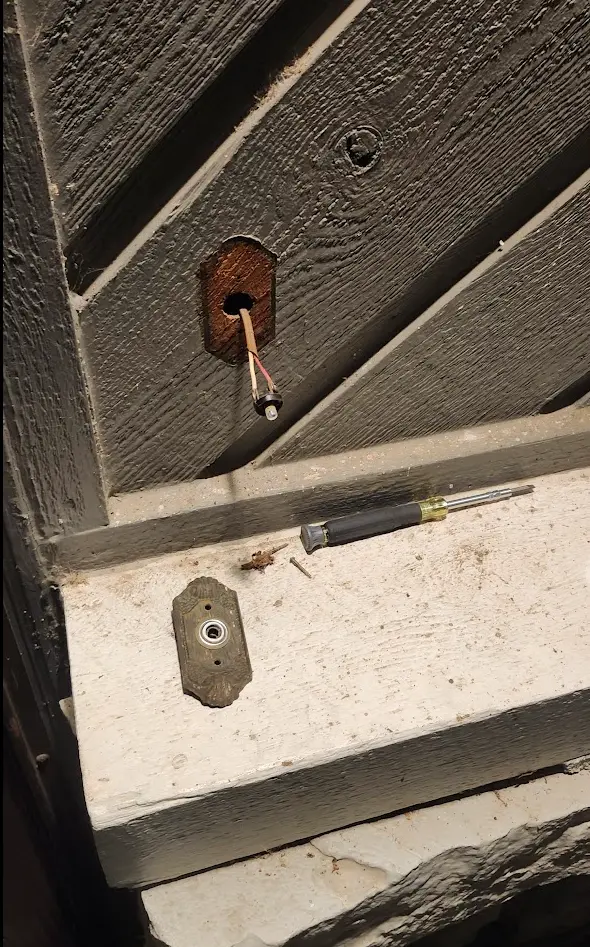
First things first. Remove the old doorbell. Pay attention to the color of the wire. Brown sheathing, two wire.
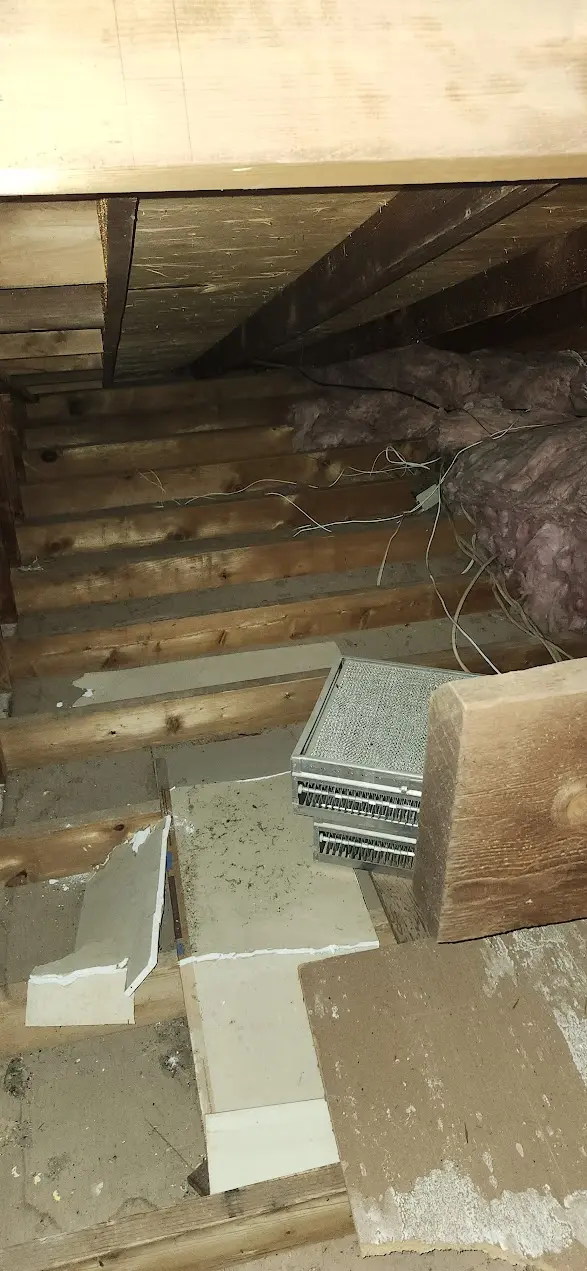
Next, lets go spelunking in the attic.
Somewhere in this general vicinity is where the doorbell chime cable should come up.
And…. this would appear to be a brown cable, containing both a red and white strand. I didn't strip or skin it. It was already like this.
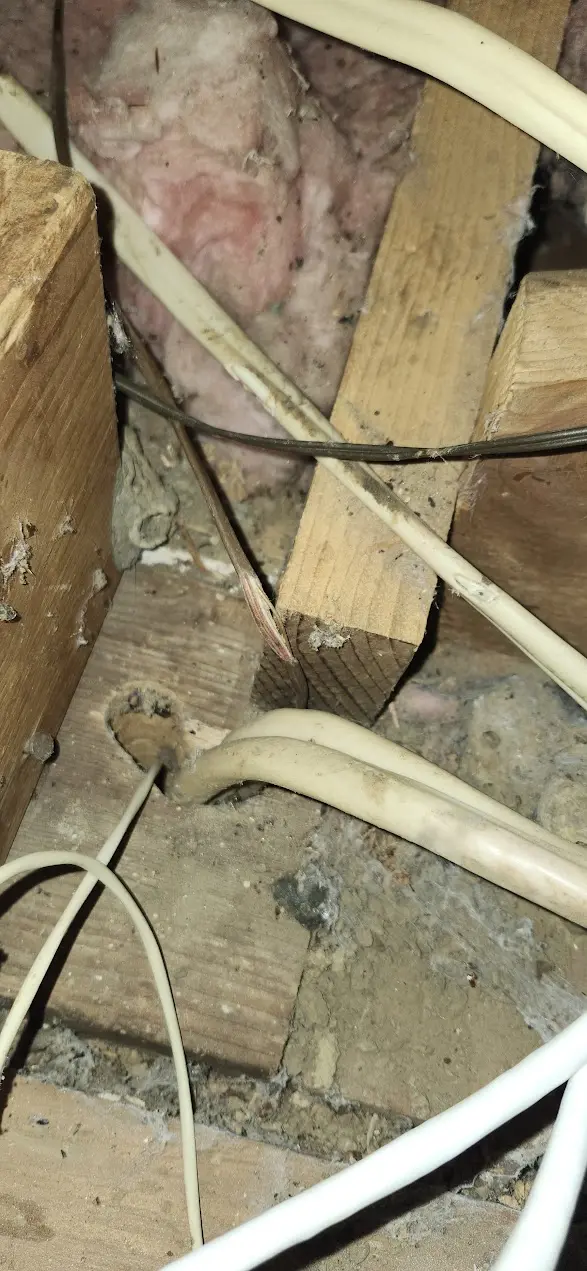
If, we are lucky, its not stabled inside of the wall, and we can easily pull the thicker cat6 back through.
Use electrical tape, and wrap it good and tight, and try to not leave a corner which will catch on anything.
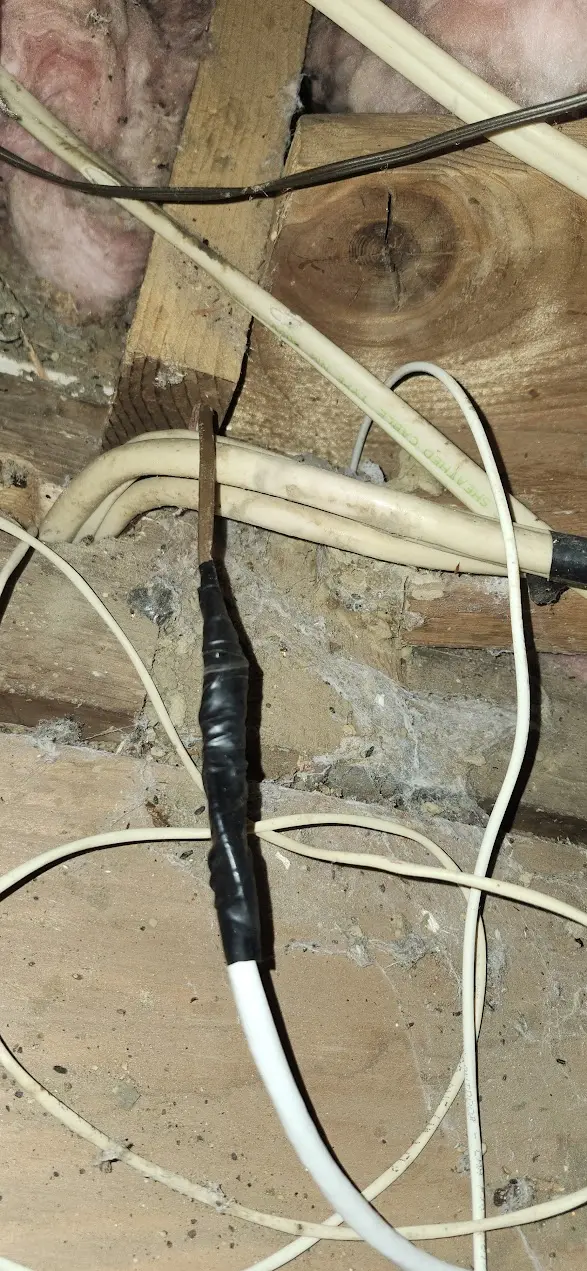
Then start slowly pulling the old cable back through.
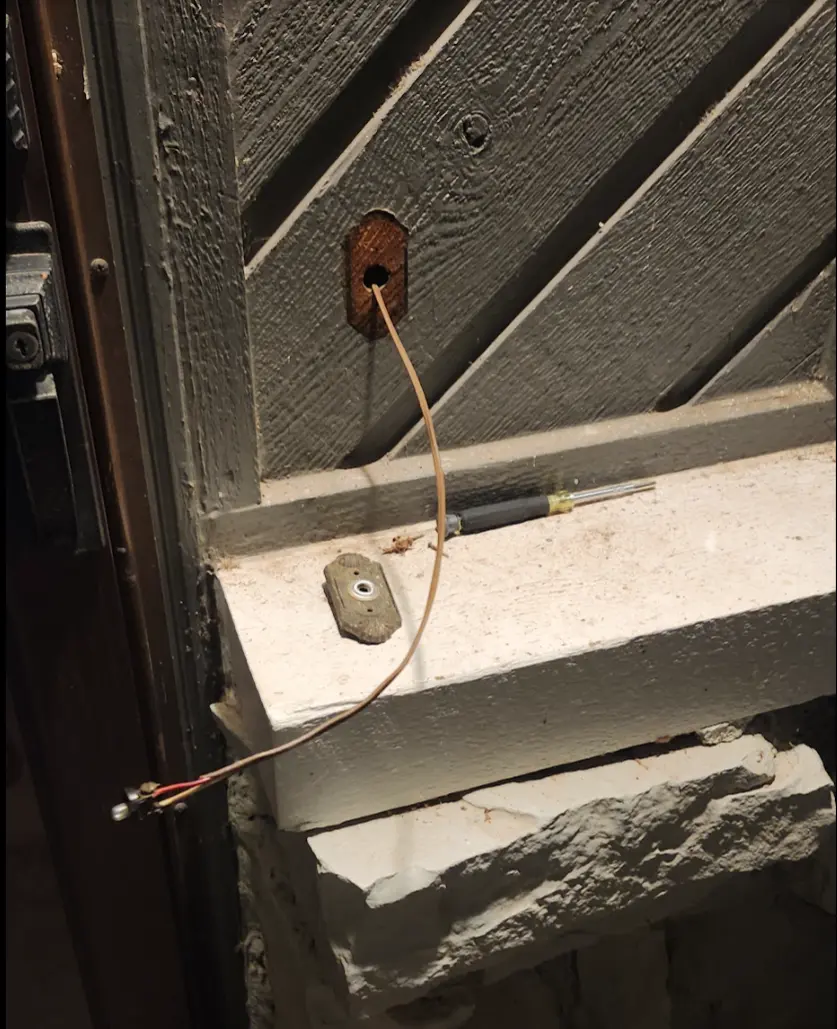
After a while, the new cable emerged.
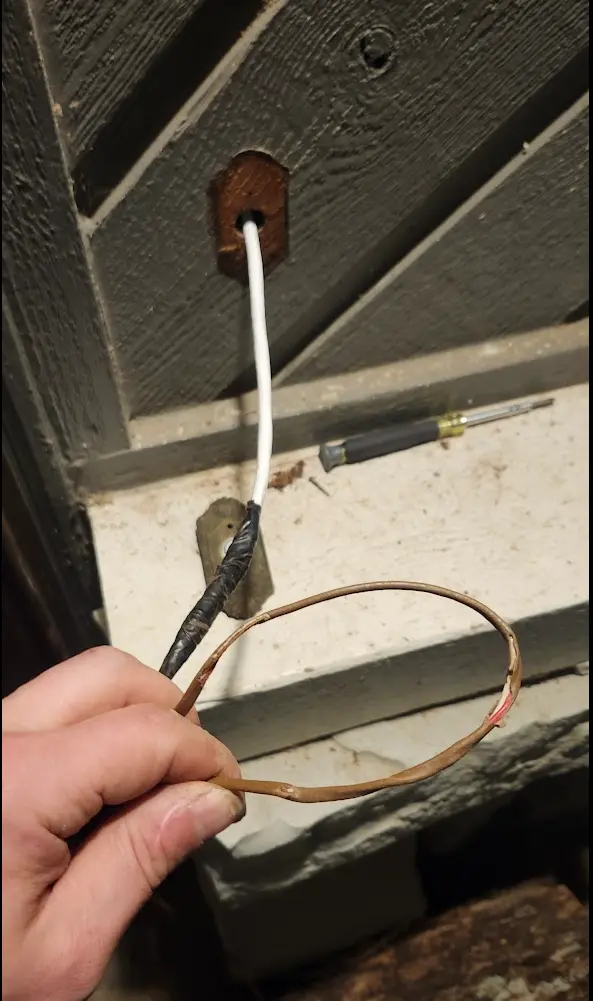
Next, I went and grabbed the cable termination tools, and cut the end of the cable off.
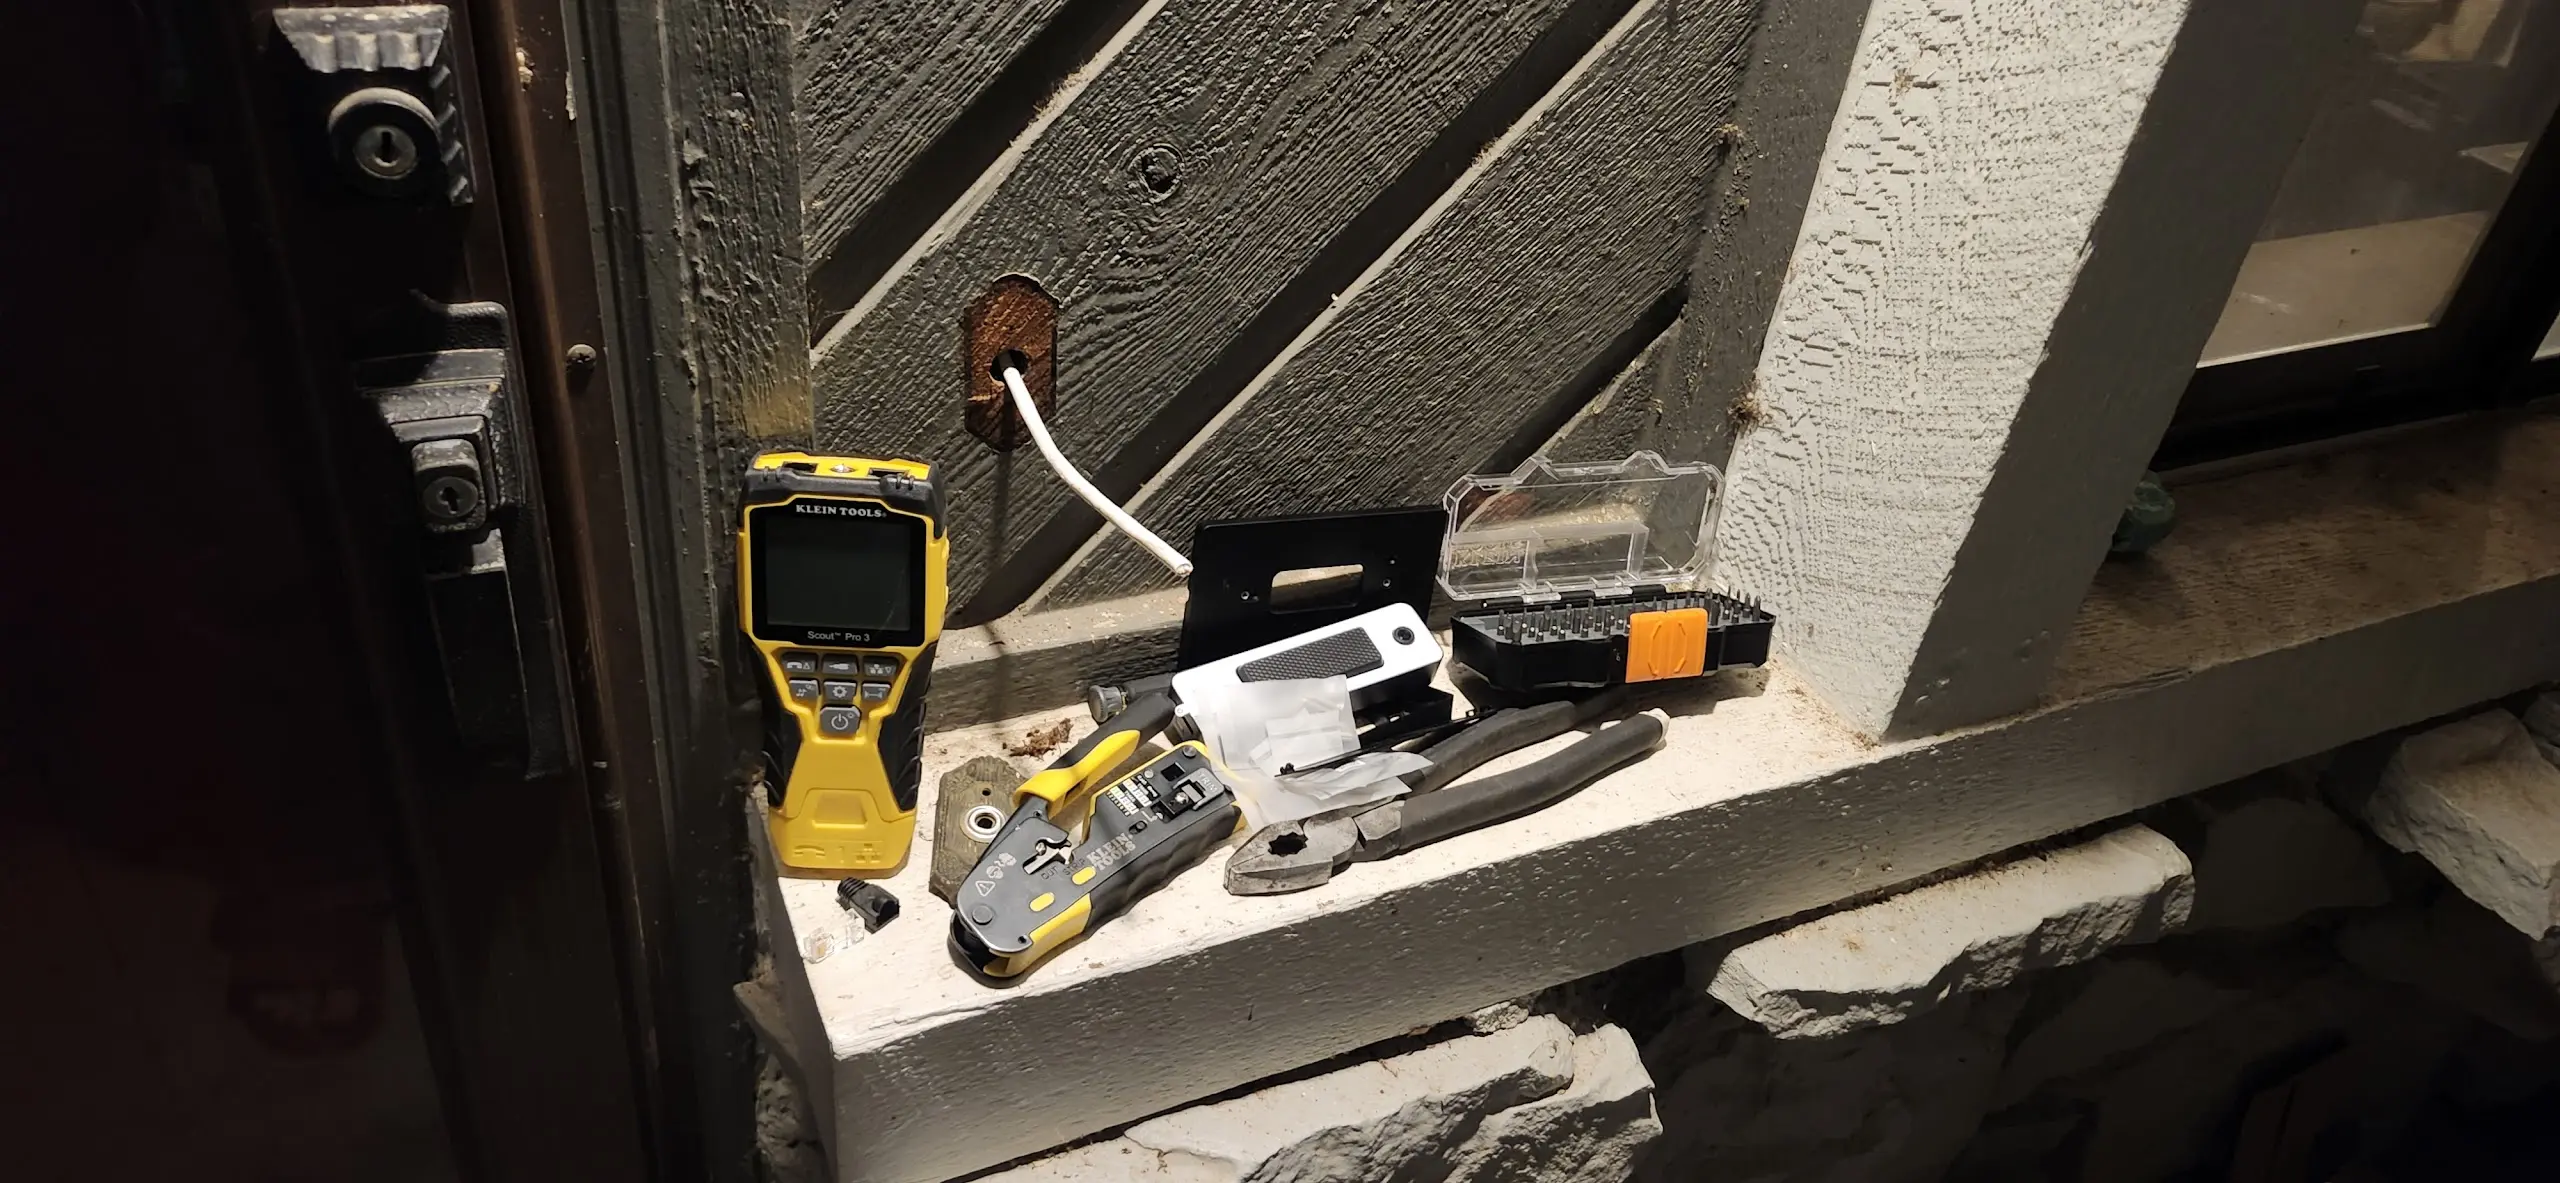
A few moments later…. The cable has been terminated.
Info
Don't use a boot with the Unifi doorbell cameras….
There is not room to fit the boot. I had to later cut the boot off using a razor knife.
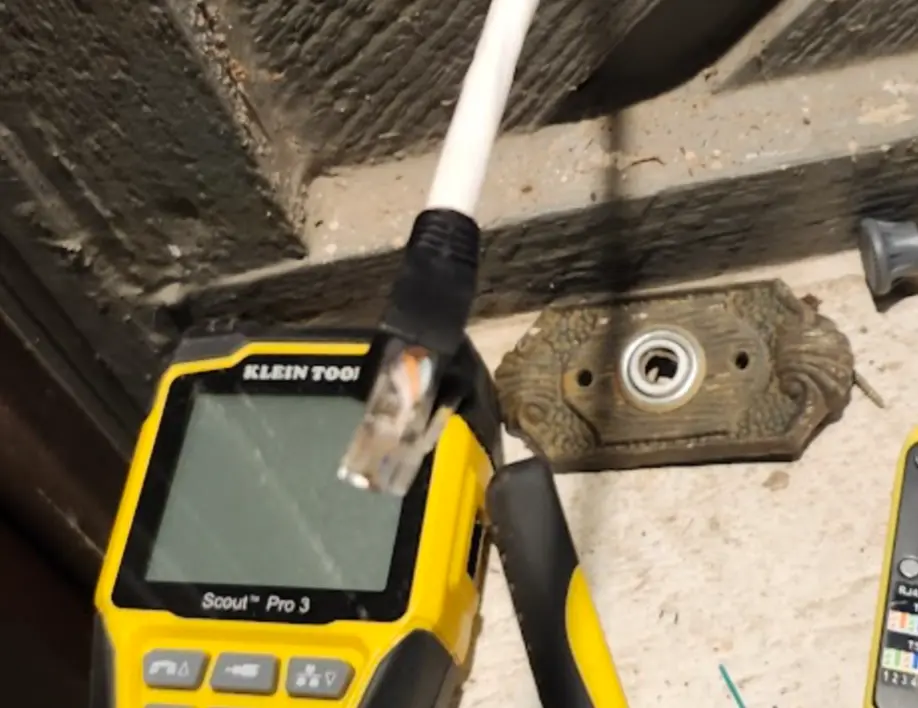
To save a trip back downstairs, I went ahead and connected the cable-tester remote.
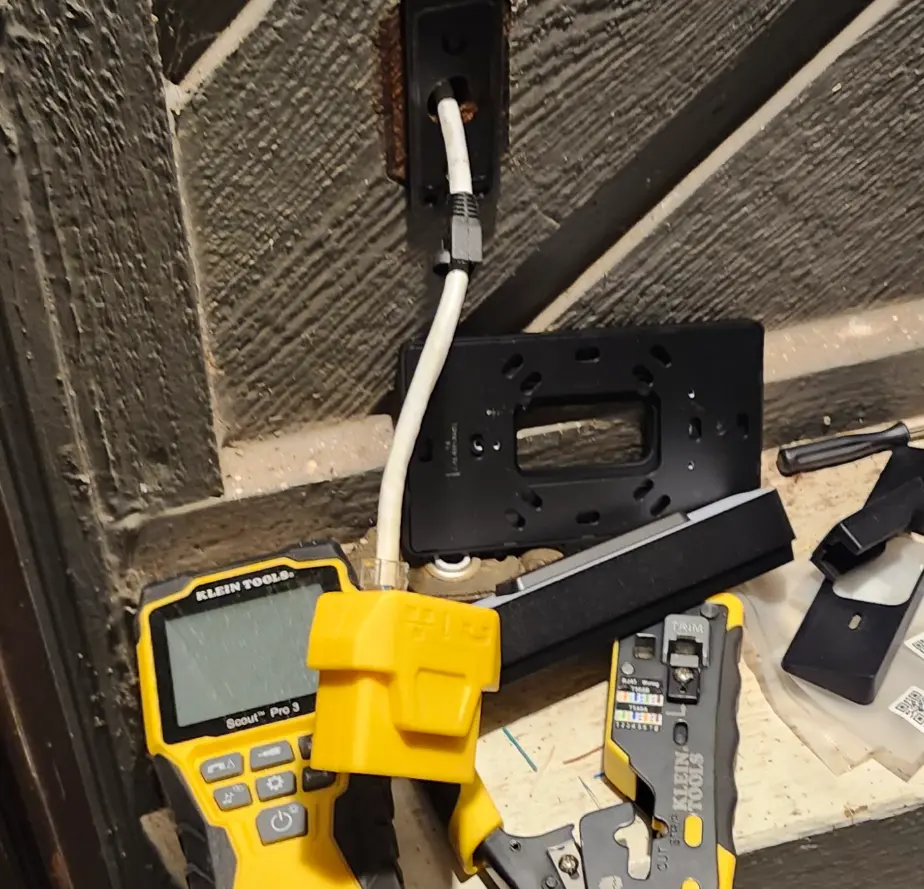
Now, its time to go back into the attic, and finish running the cable.
Installing Patch Panel
As- I plan on running several more devices in this area, such as cameras, etc….. I decided to place an enclosed patch panel nearby.
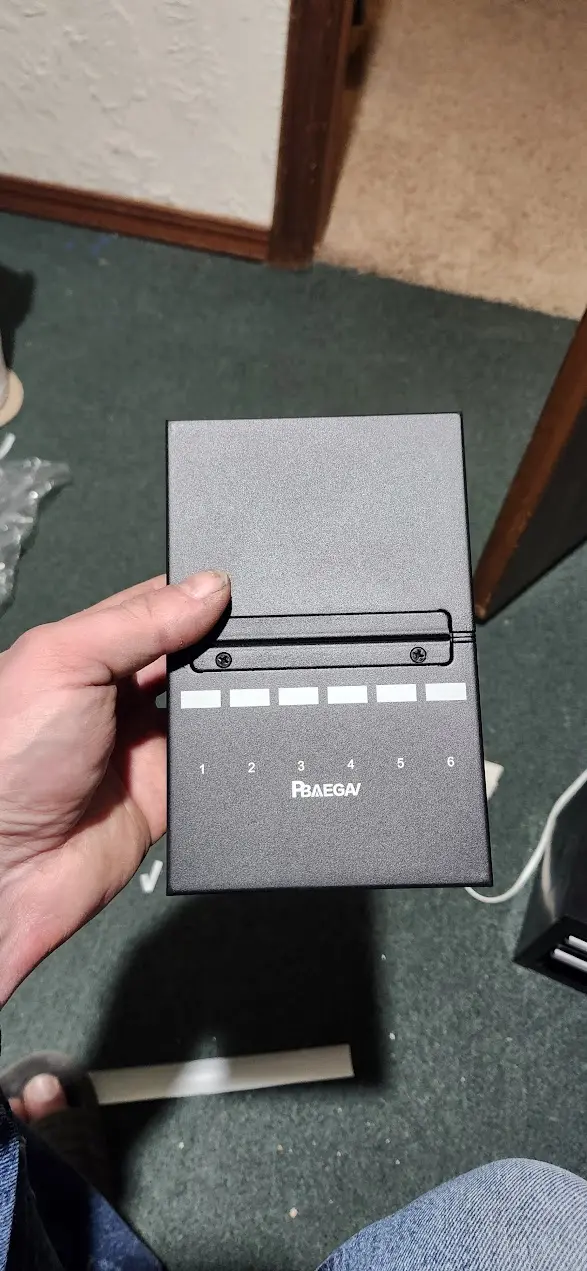
This is the 6 Port Patch PanelAmazon affiliate linkAs an Amazon Associate I earn from qualifying purchases at no additional cost to you; using this link helps support the site. linked at the top of the post.
After printing a few labels for the patch panel, I crawled back into the attic, and found a suitable location to mount it.
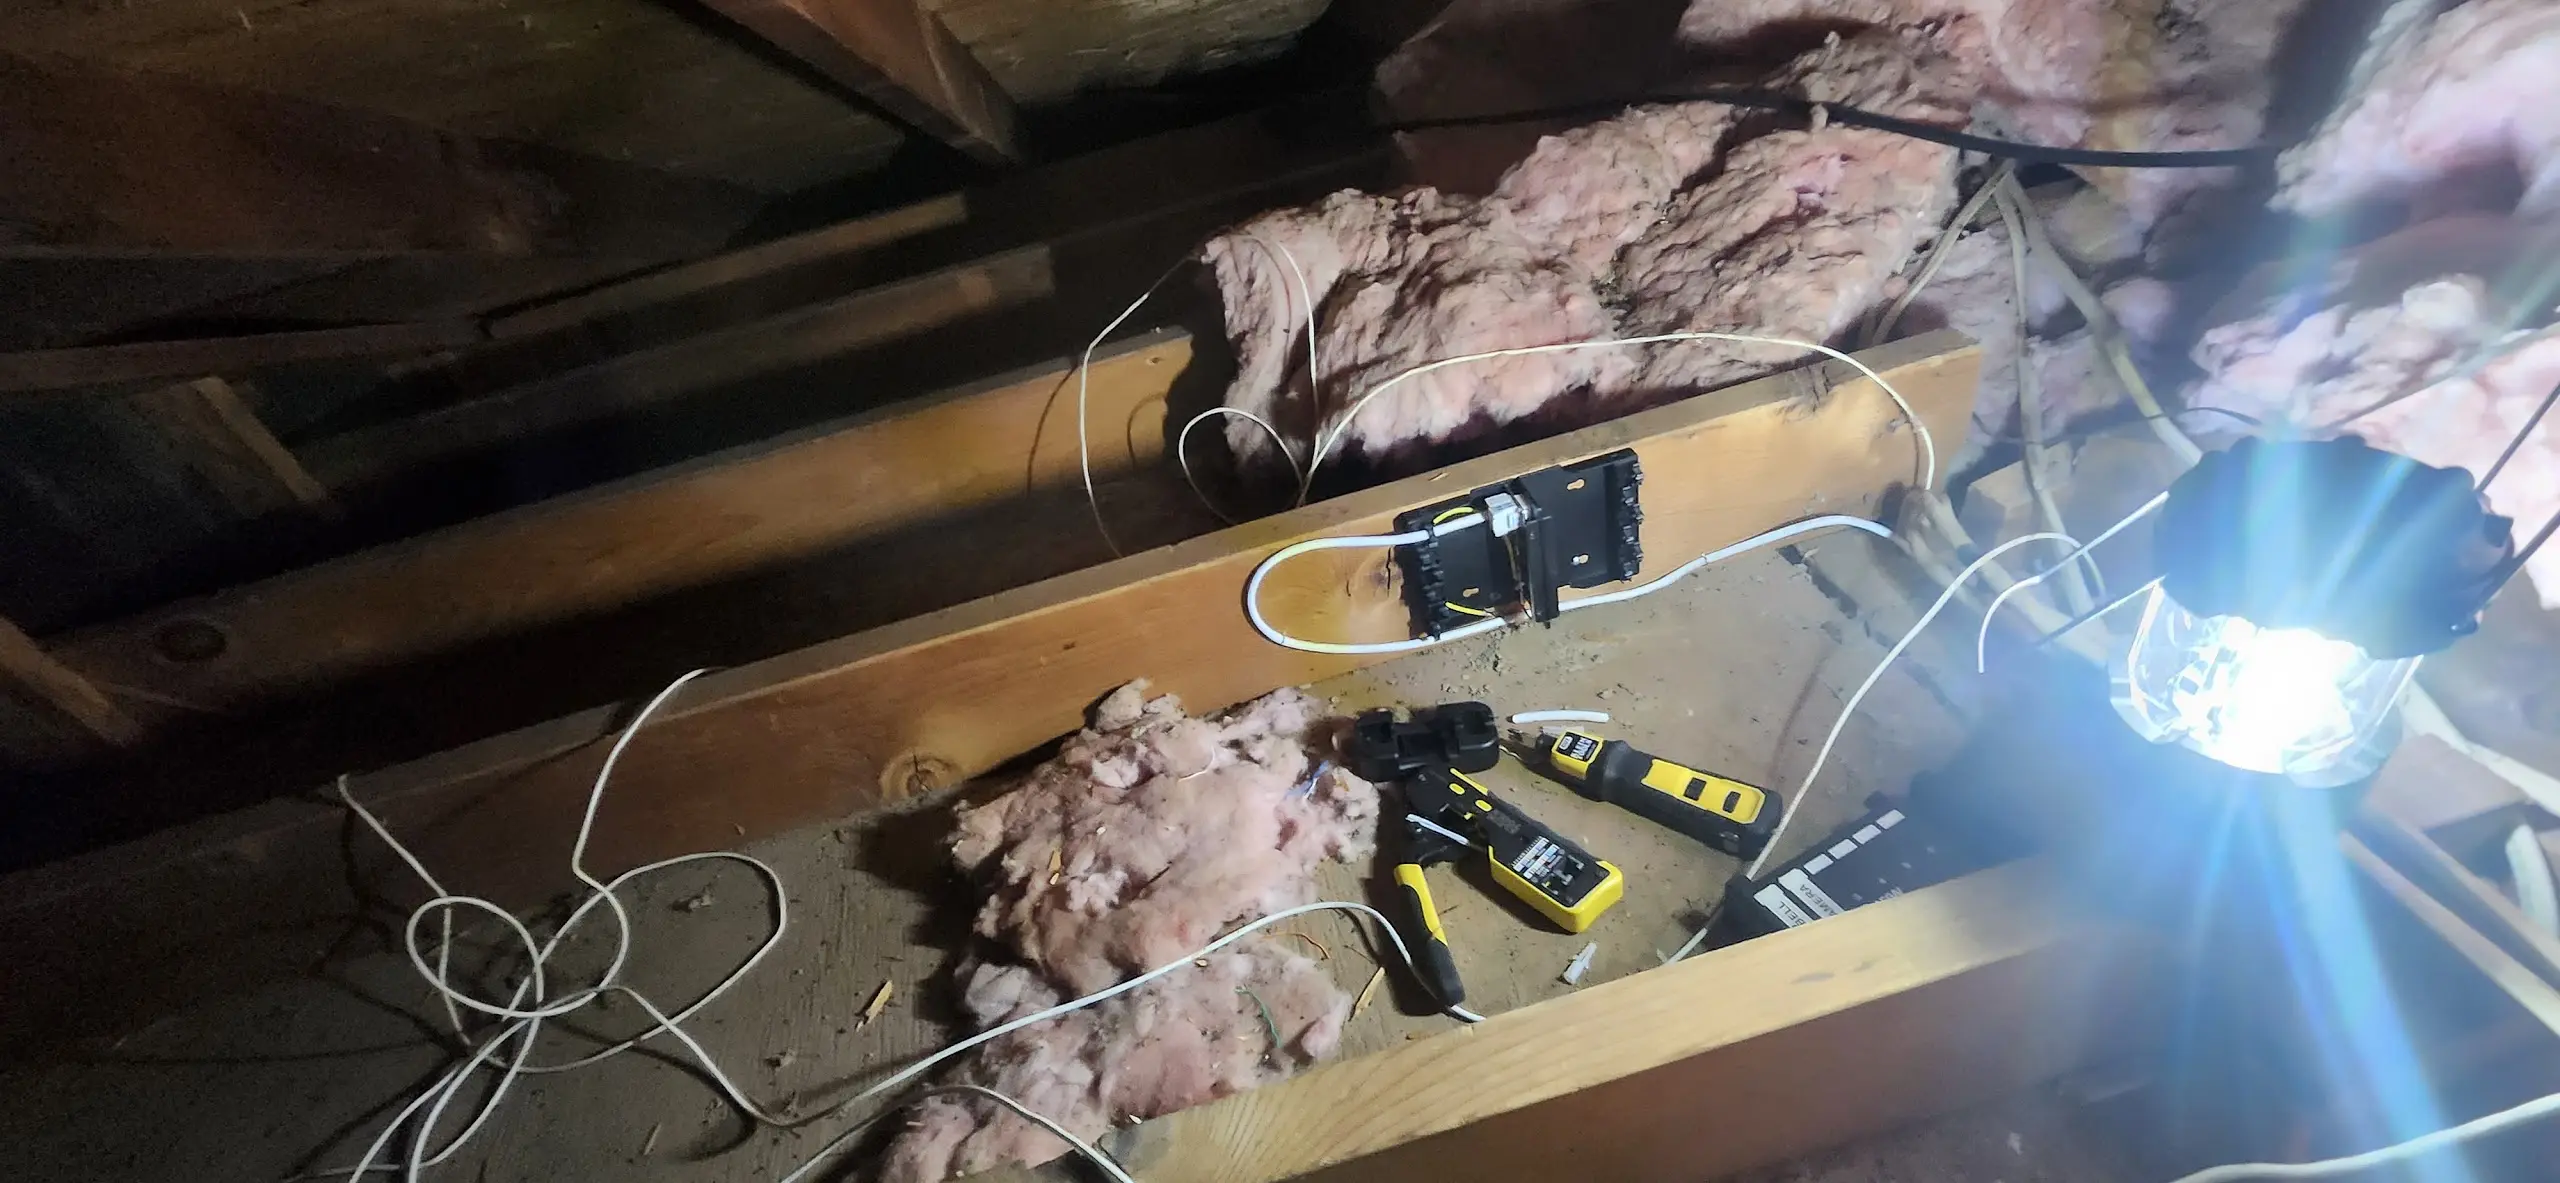
Not pictured- I also terminated the CAT6 with a keystone, and installed the keystone into the patch panel.
And…. left cover installed.
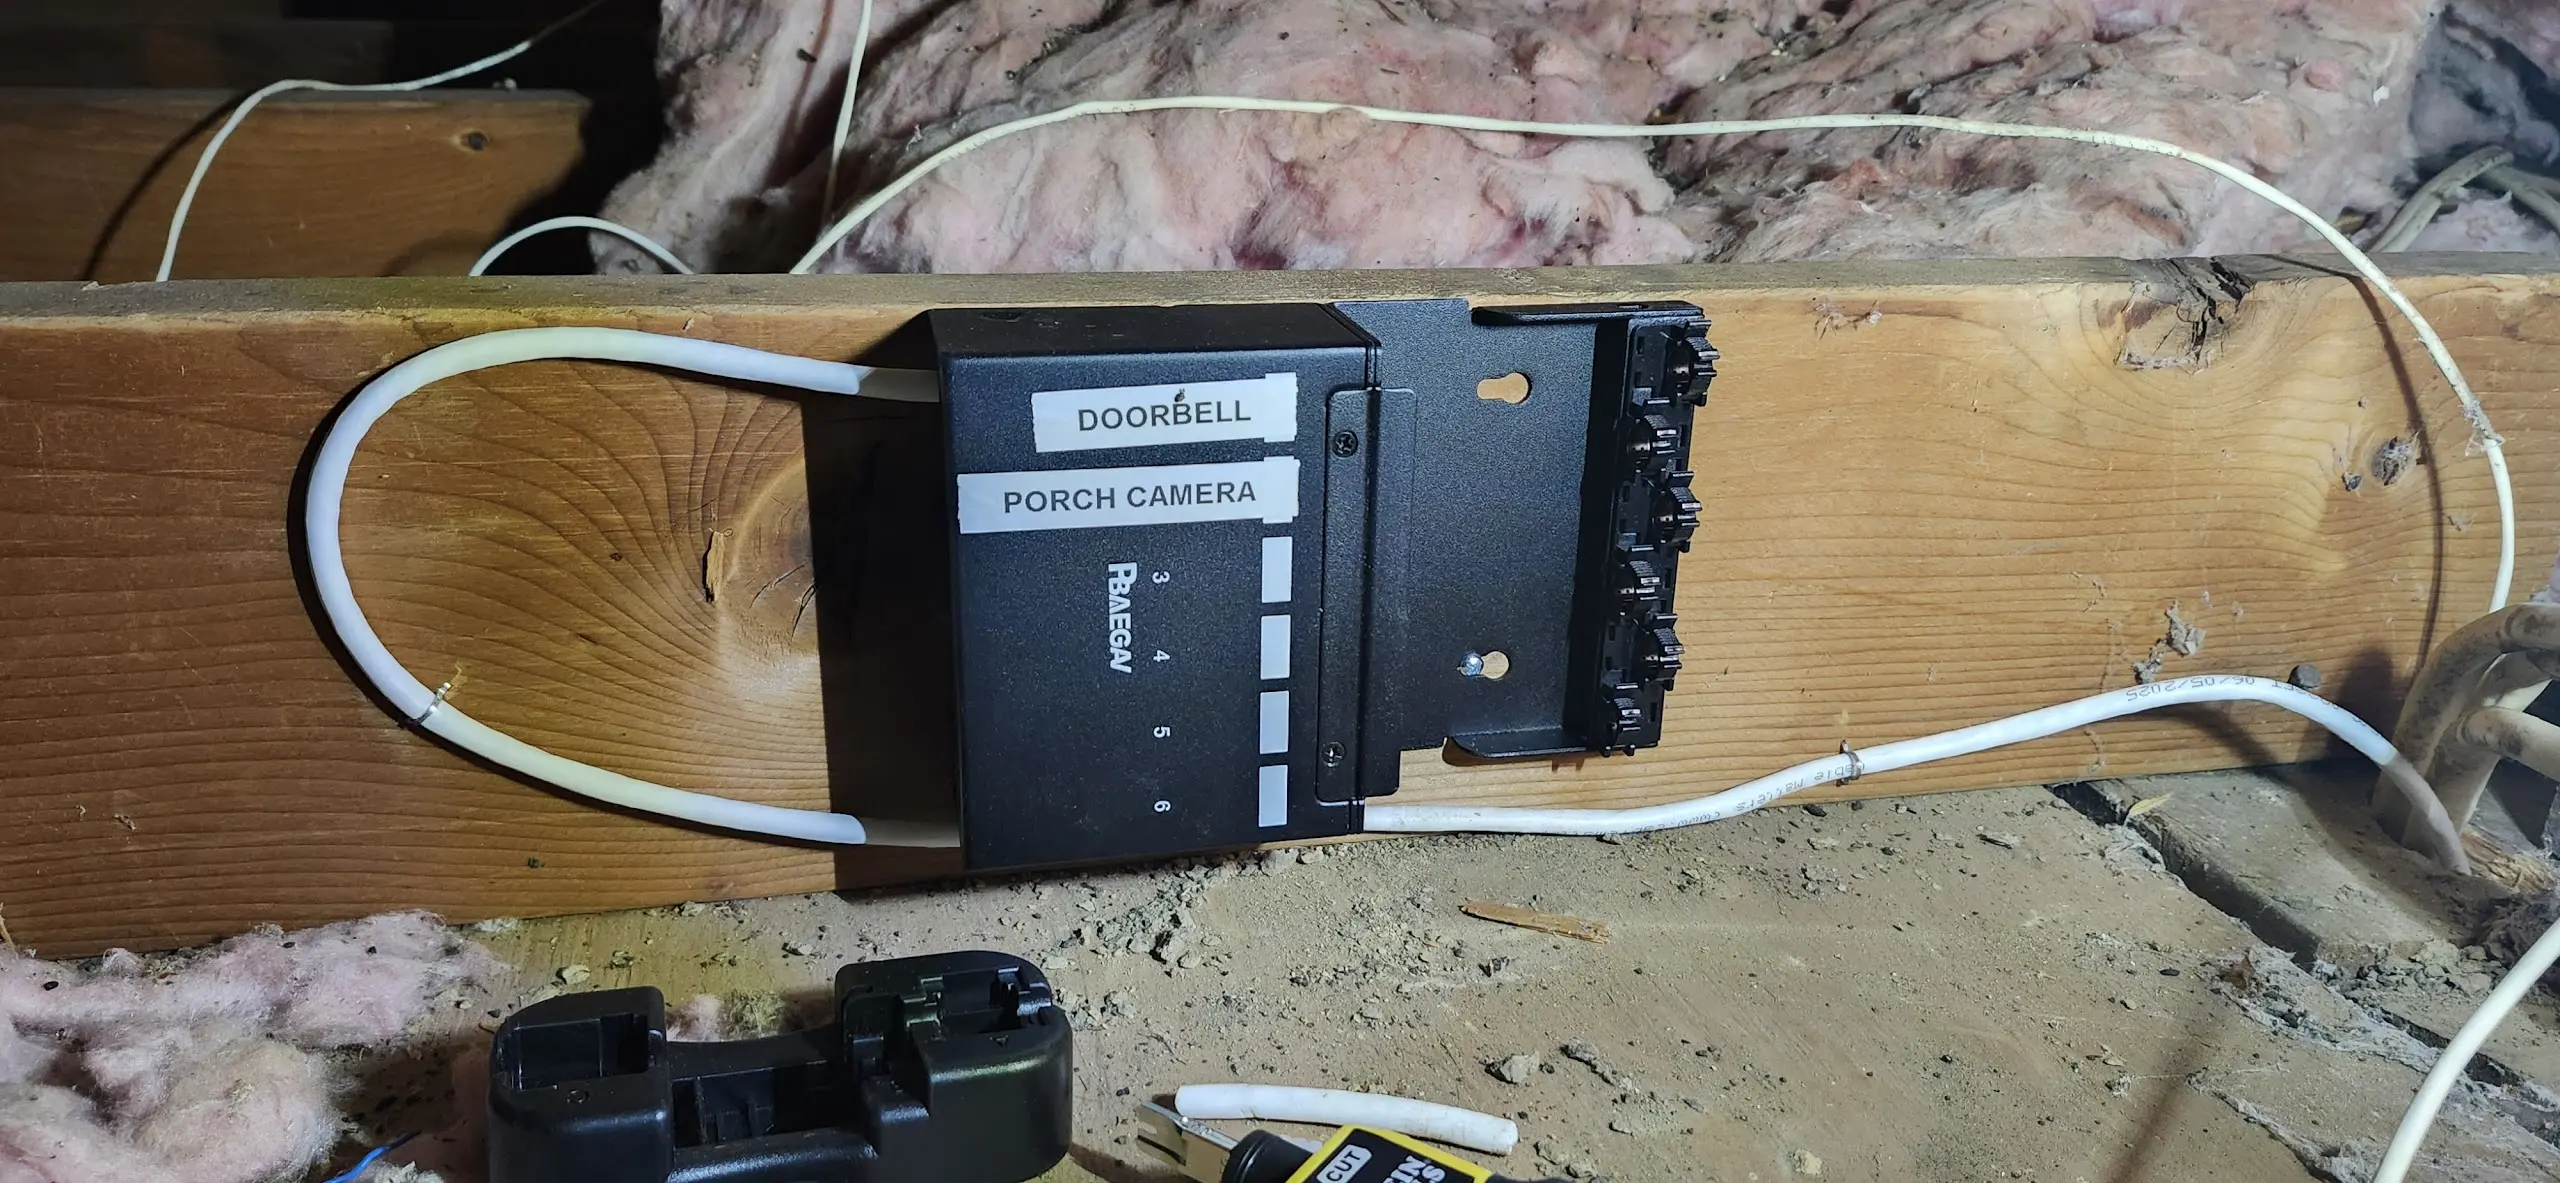
Running Cable
With the patch panel in place, now came the fun part…. Running the cable to the network closet.
So…. We need to go…… All the way over there… To the left.
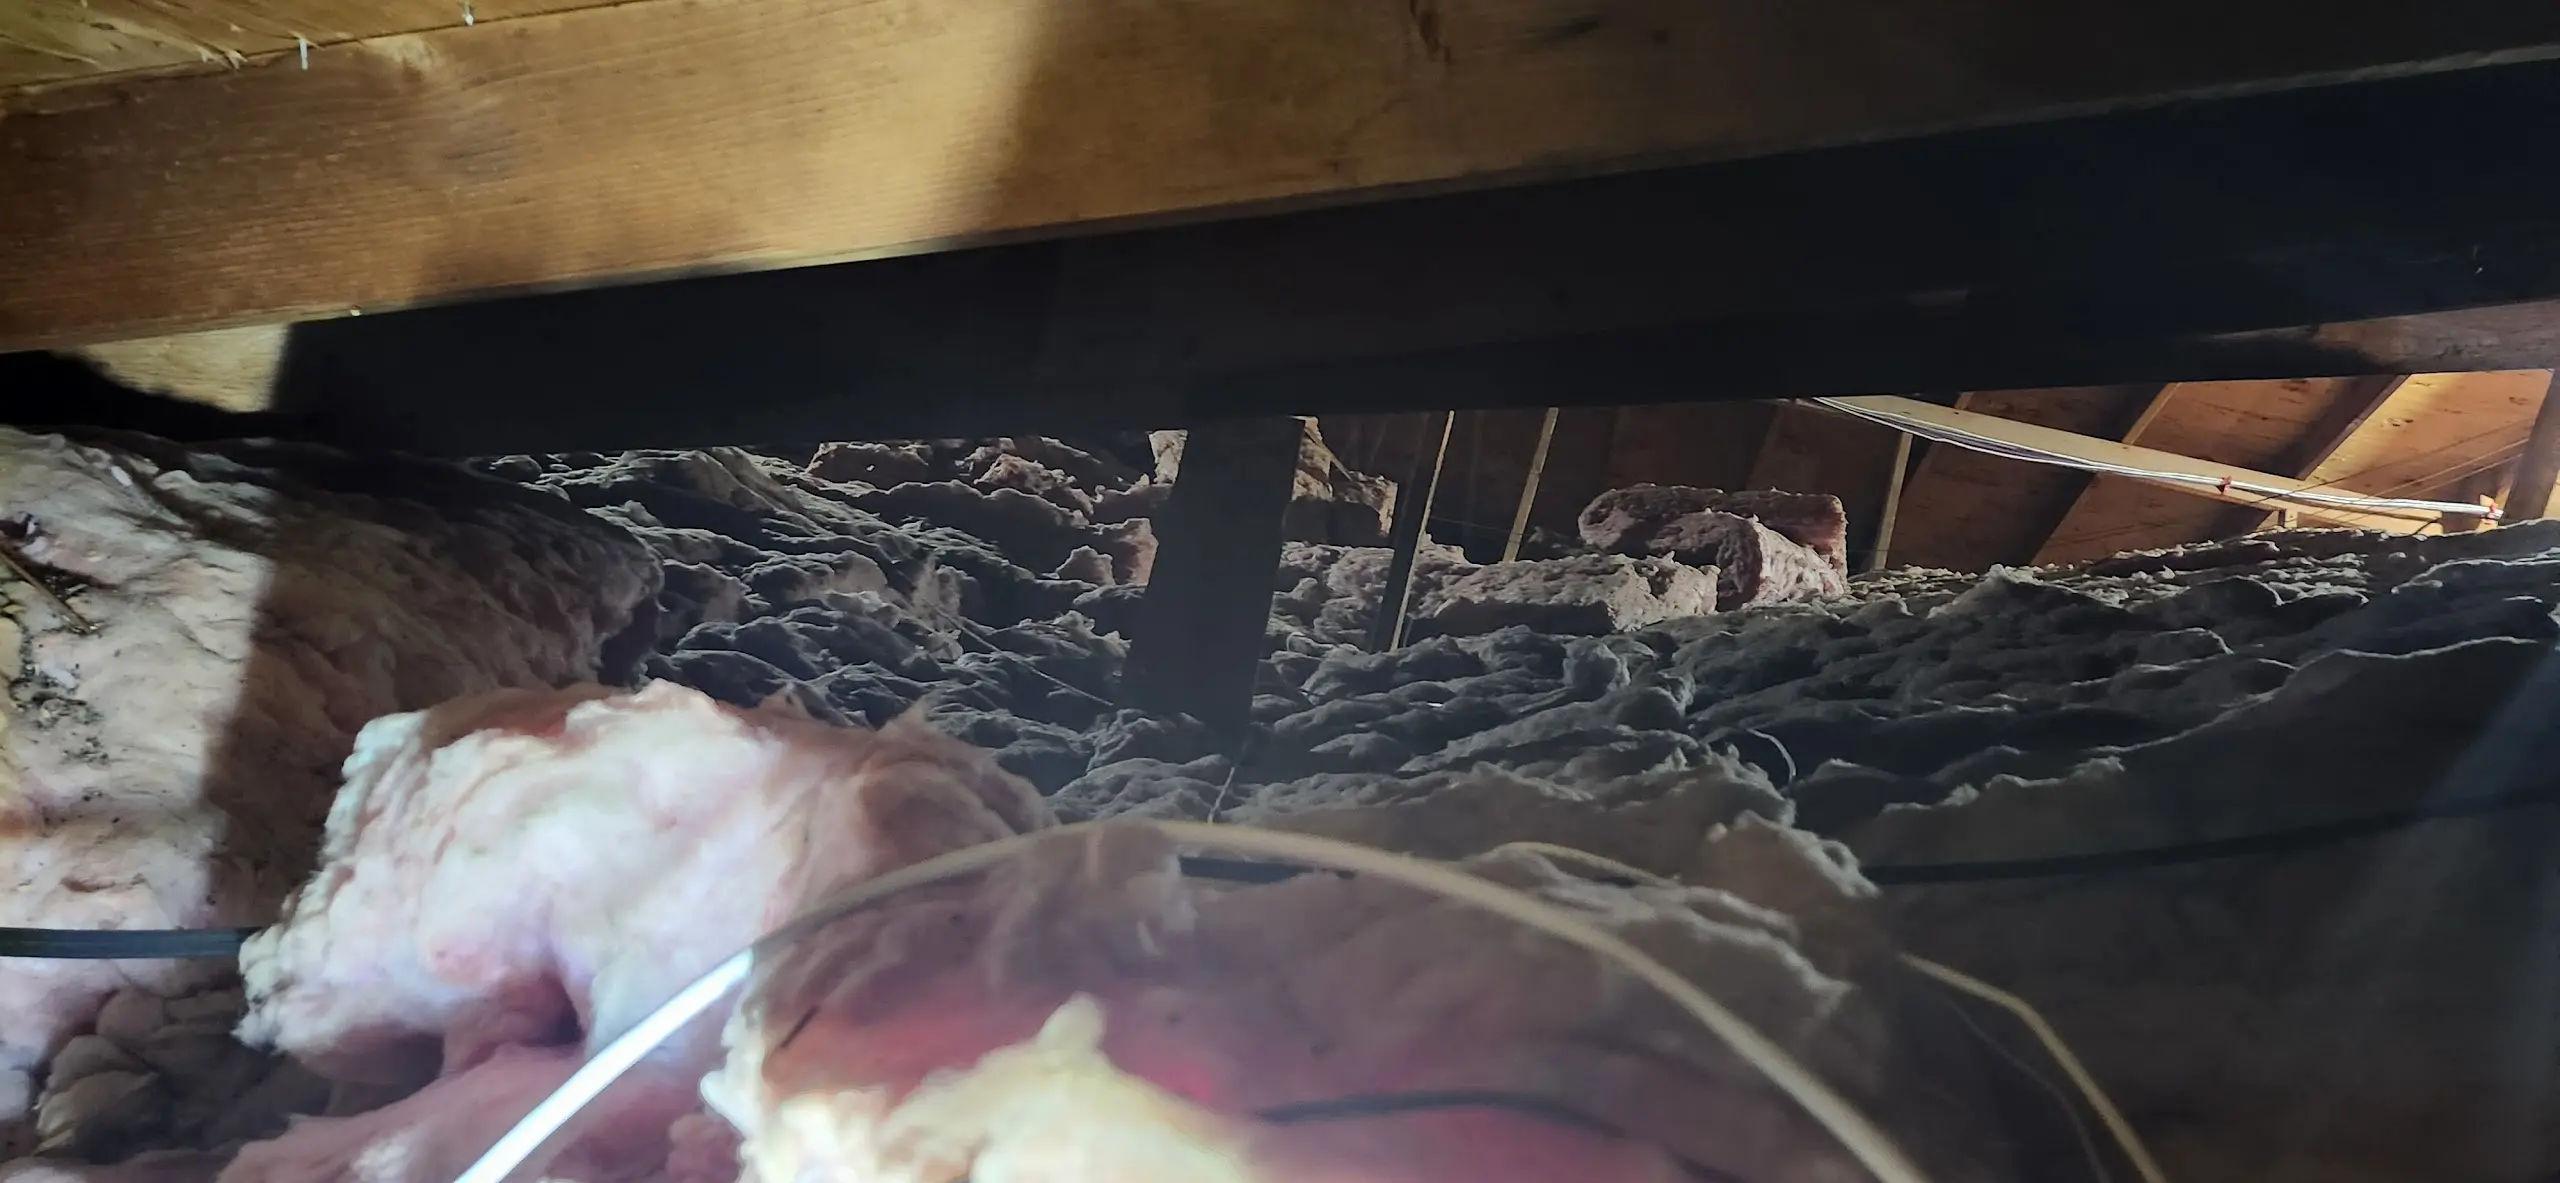
But, I absolutely refuse to leave wires and cables just laying around and lingering in the attic.
Cables must be organized, neatly.
After…. a few minutes, I had the cable ran.
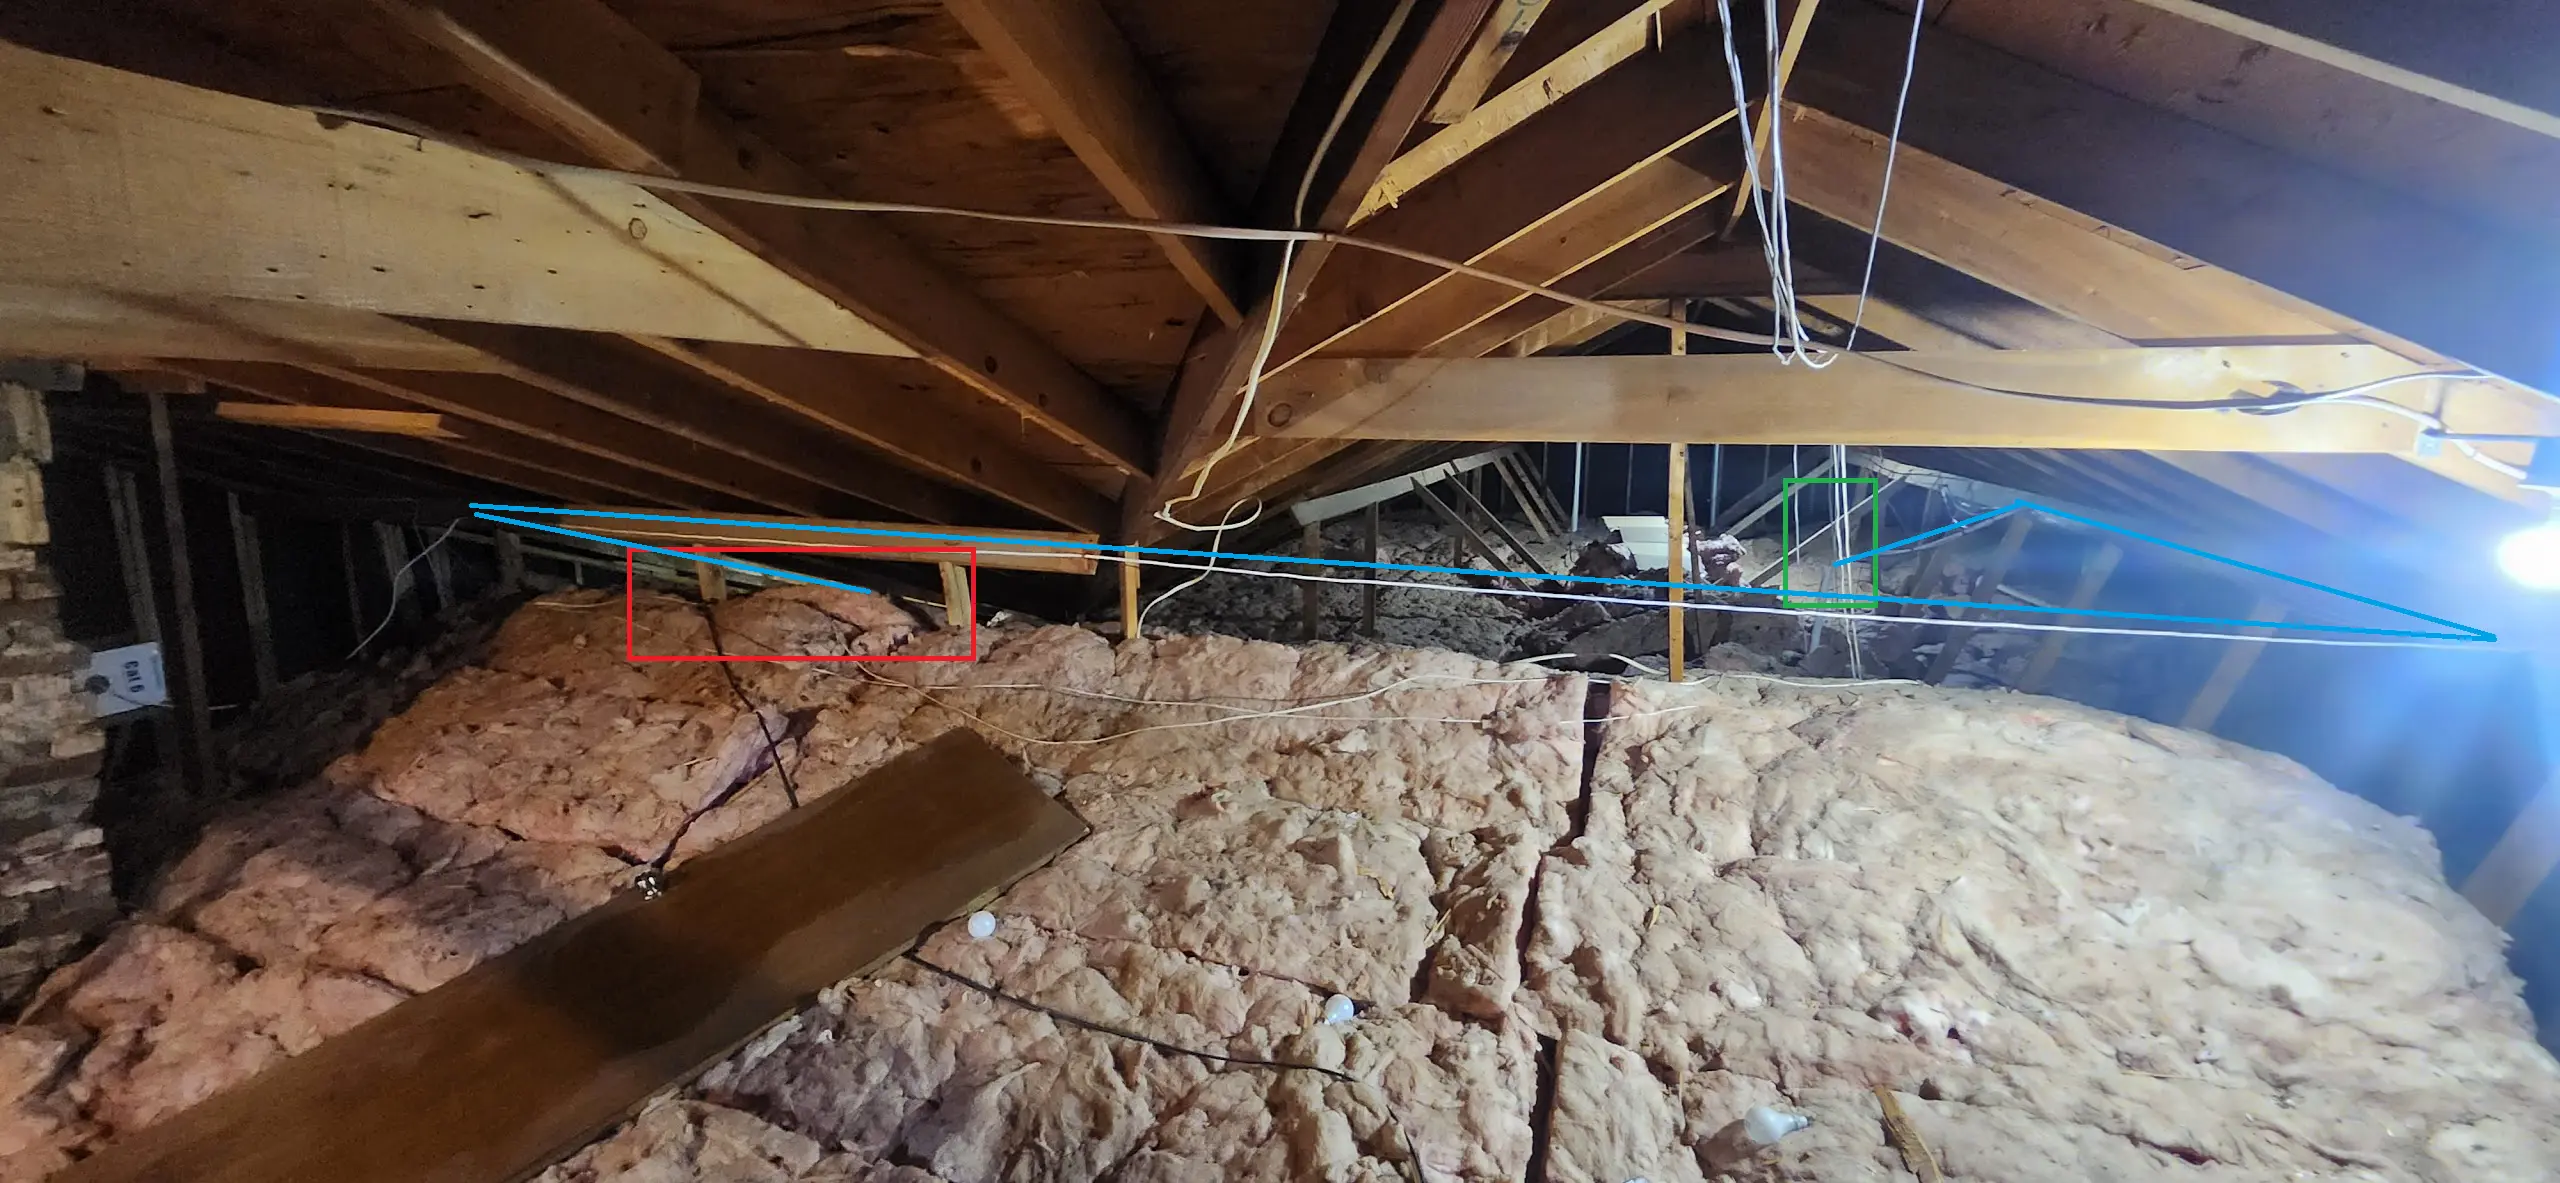
The red box- is the area where the patch panel is installed, and where the doorbell cable is.
The green box, is the conduit going down to my networking closet's patch panel.
The blue line, is the new cable we ran.
Here, is a picture of the left side, with the cable-management clips visible. These clips are nailed into the studs.
Info
Yes, going directly from point A, to point B would have been much shorter, and would have been less work.
I ran the wire where I did, because its in an easy to access location. Its completely out of the way, where there is literally ZERO chance of you walking on it, or around it. And, because organized cable bundles are pretty to look at.
You can throw cable across your attic. I will keeping my cable organized as much as possible, as I'll be stuck living here.
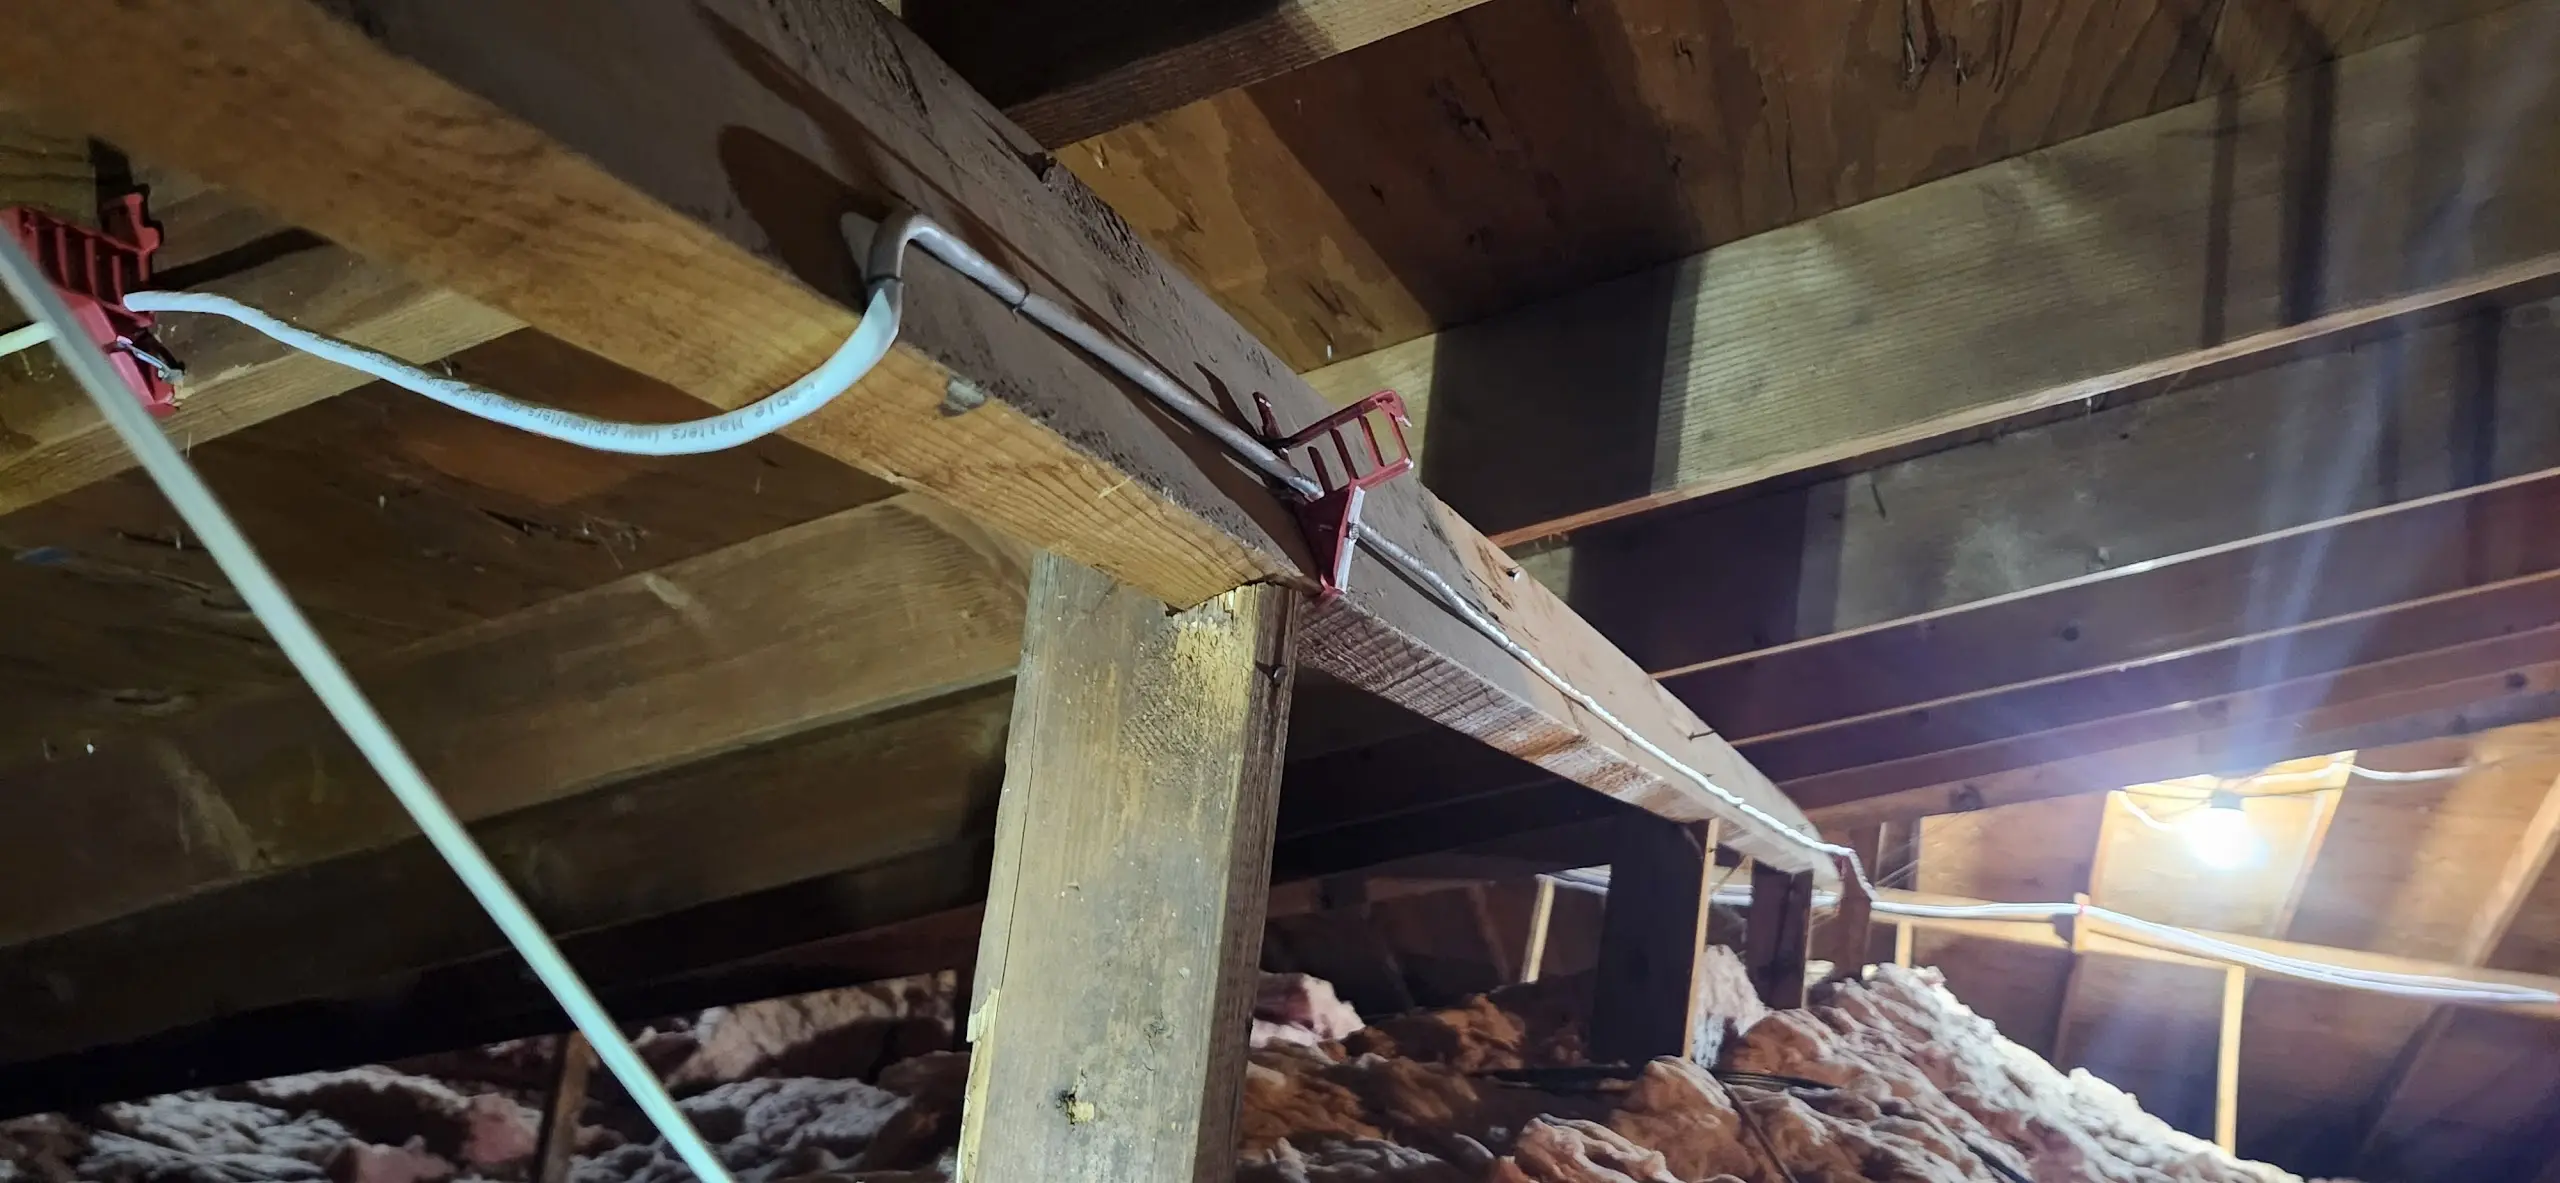
And, of course, cable-management clips are installed for the final stretch too.
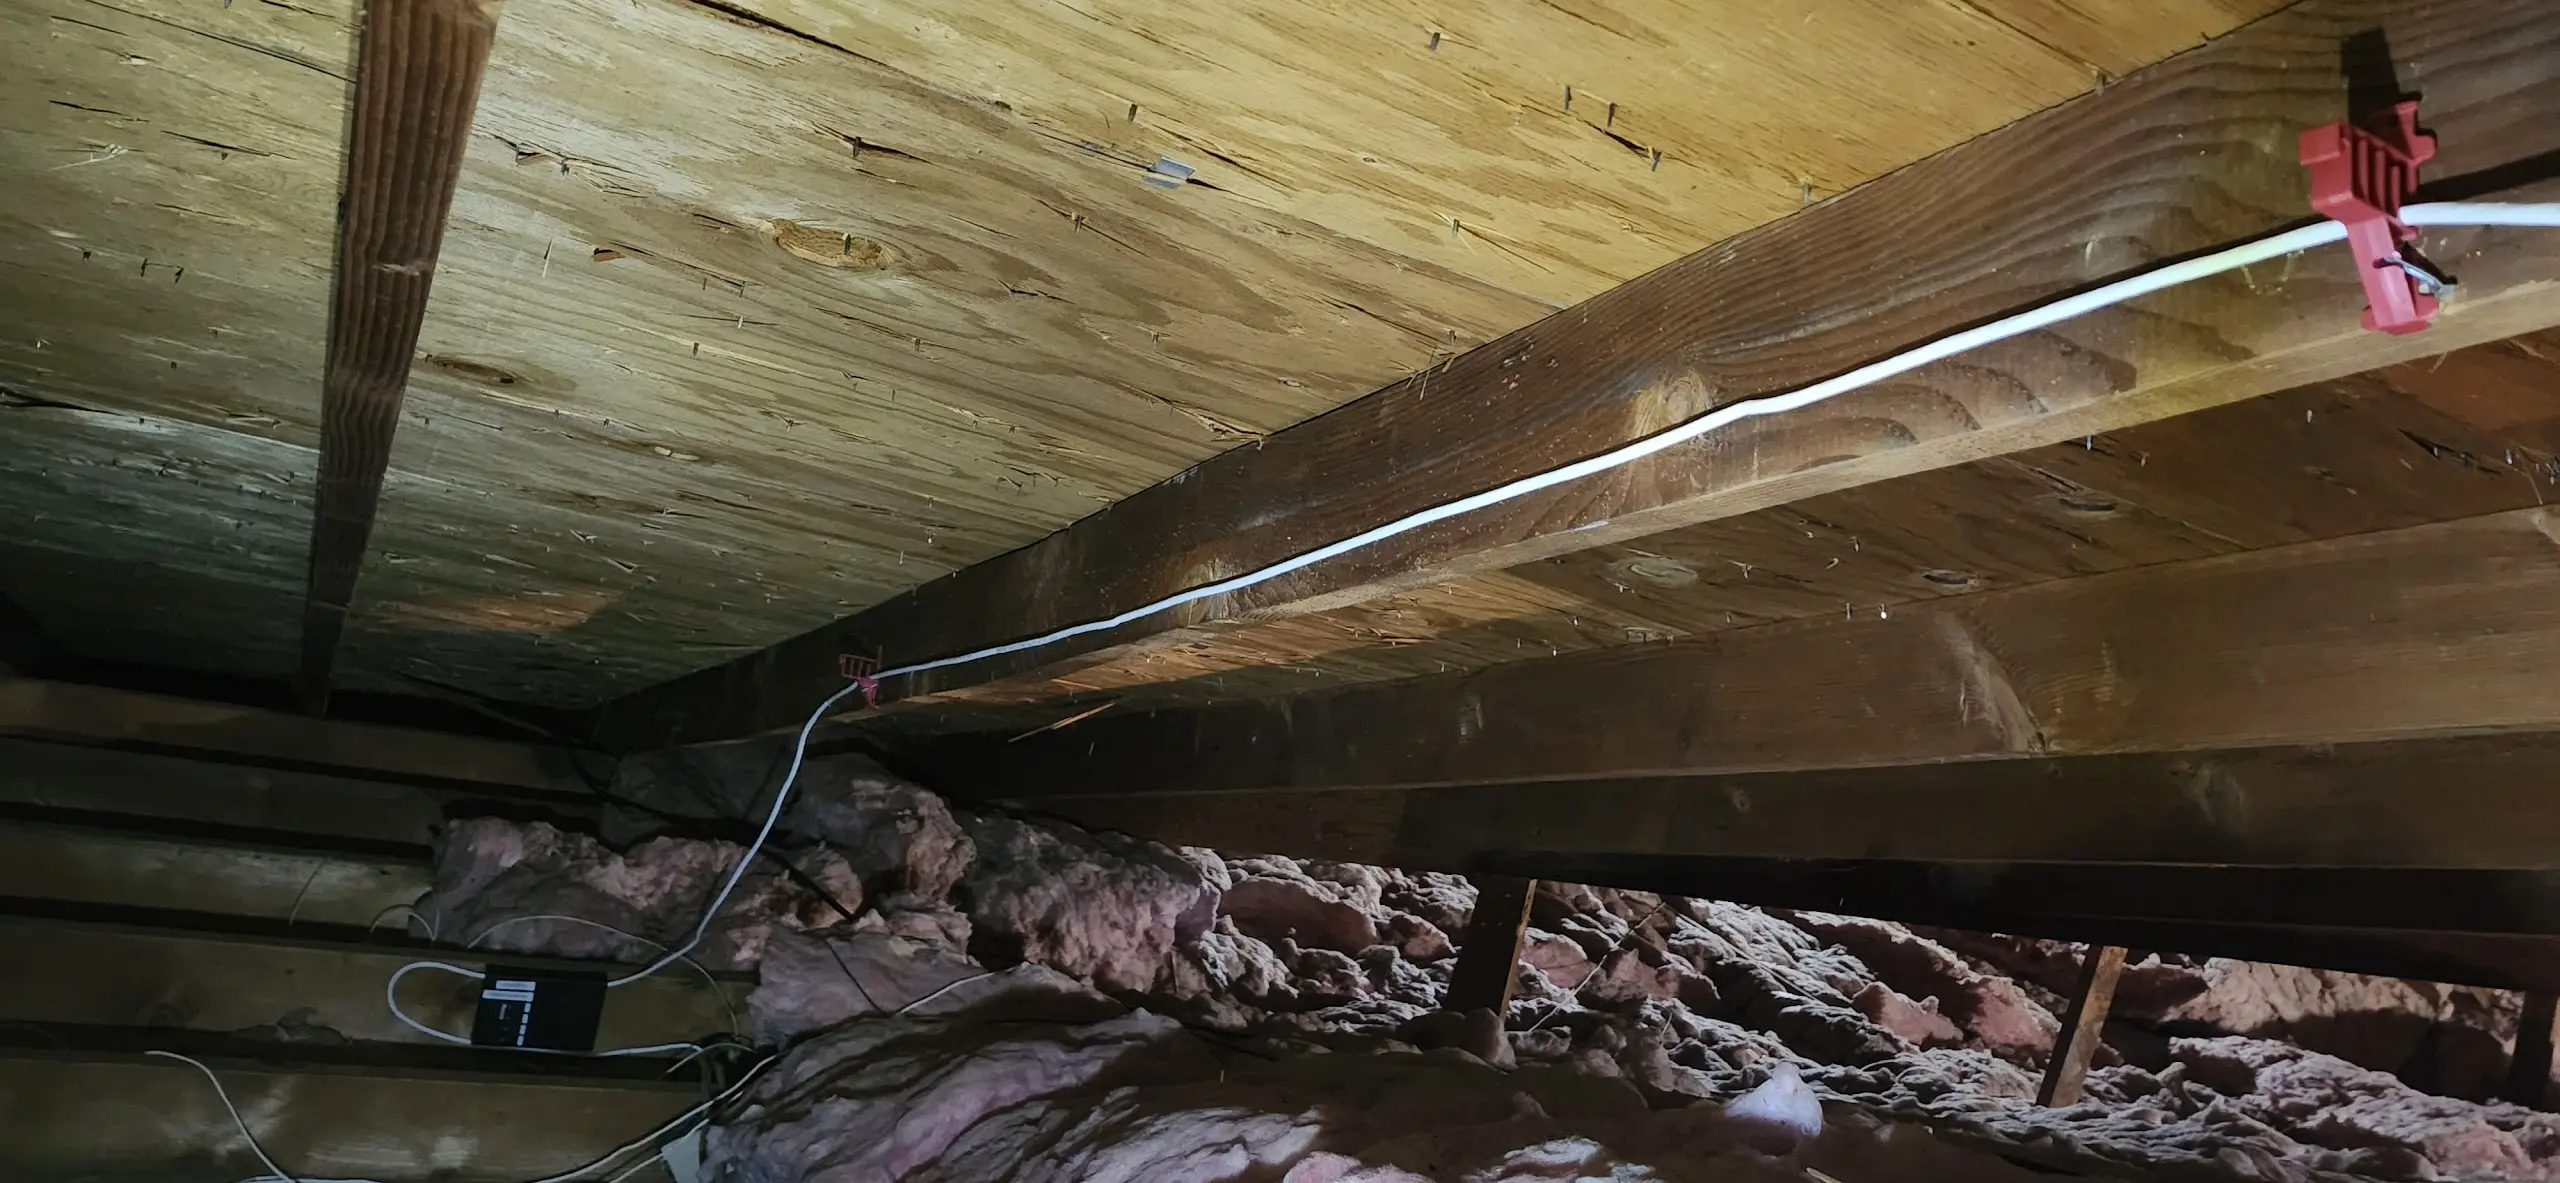
To the networking closet
Downstairs in the networking closet, We had a shiny new cable to terminate.
And….… I mixed up green/orange on my keystone connector. Oops.
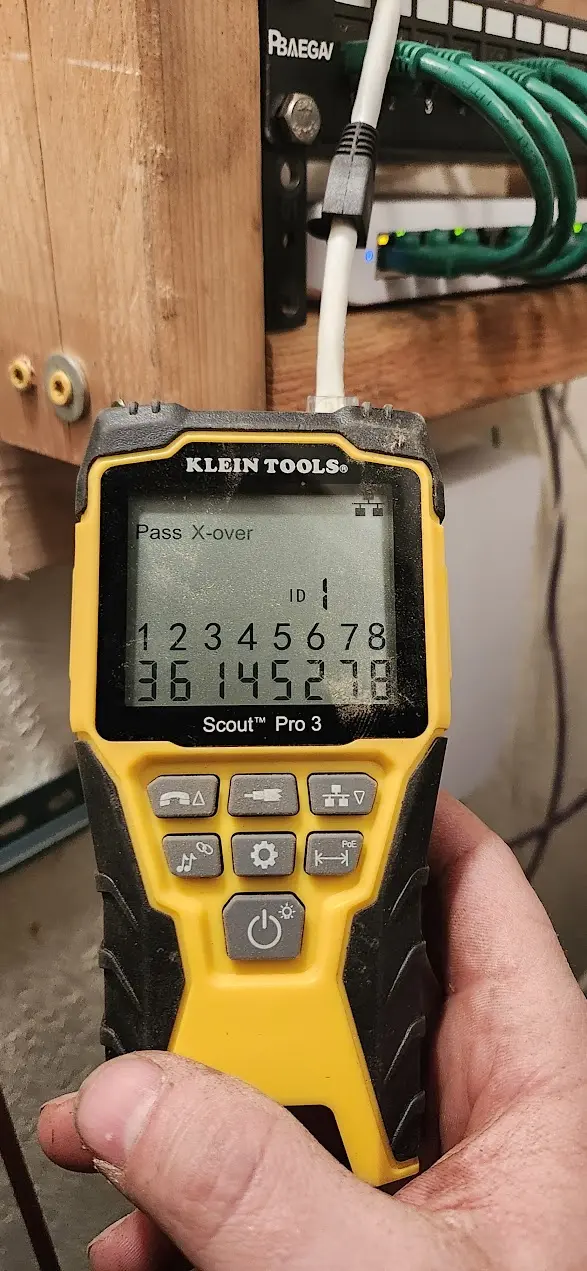
Turns out, I wired the keystone as T568A, instead of T568B. Easy fix.
A few minutes later, the issue was resolved and the cable was terminated.
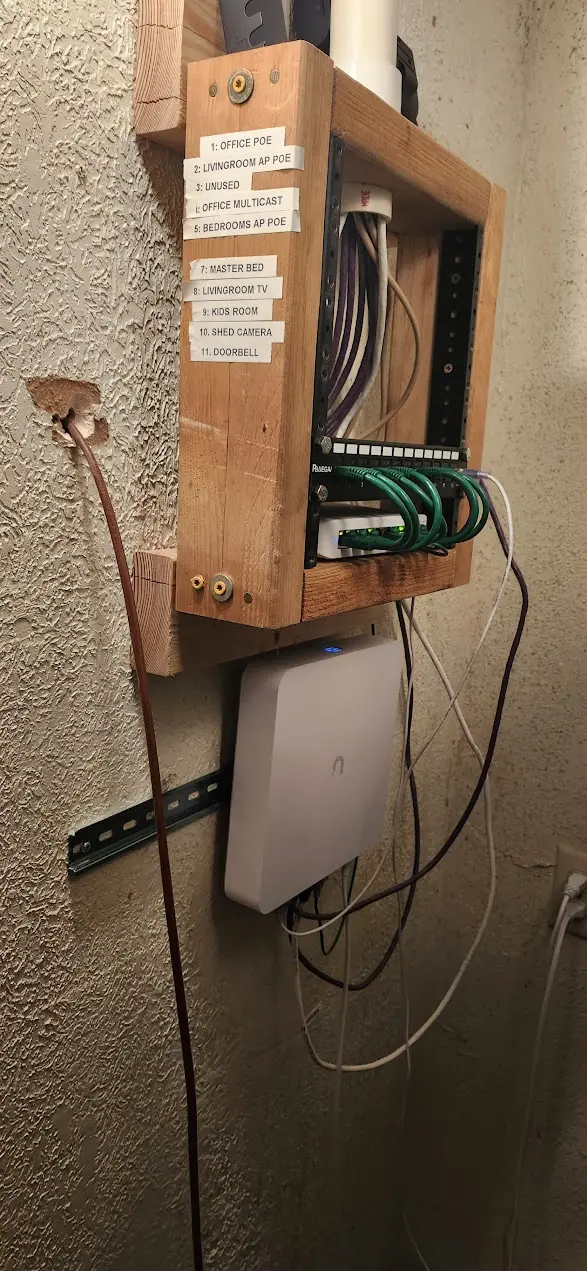
I placed a new label on the left. One of these days, I will make a better solution for identifying cable runs.
Note- the cables are labelled too.
Joining / Adopting the door bell
Back on the front porch, the doorbell had come to life and was trying to speak to me.
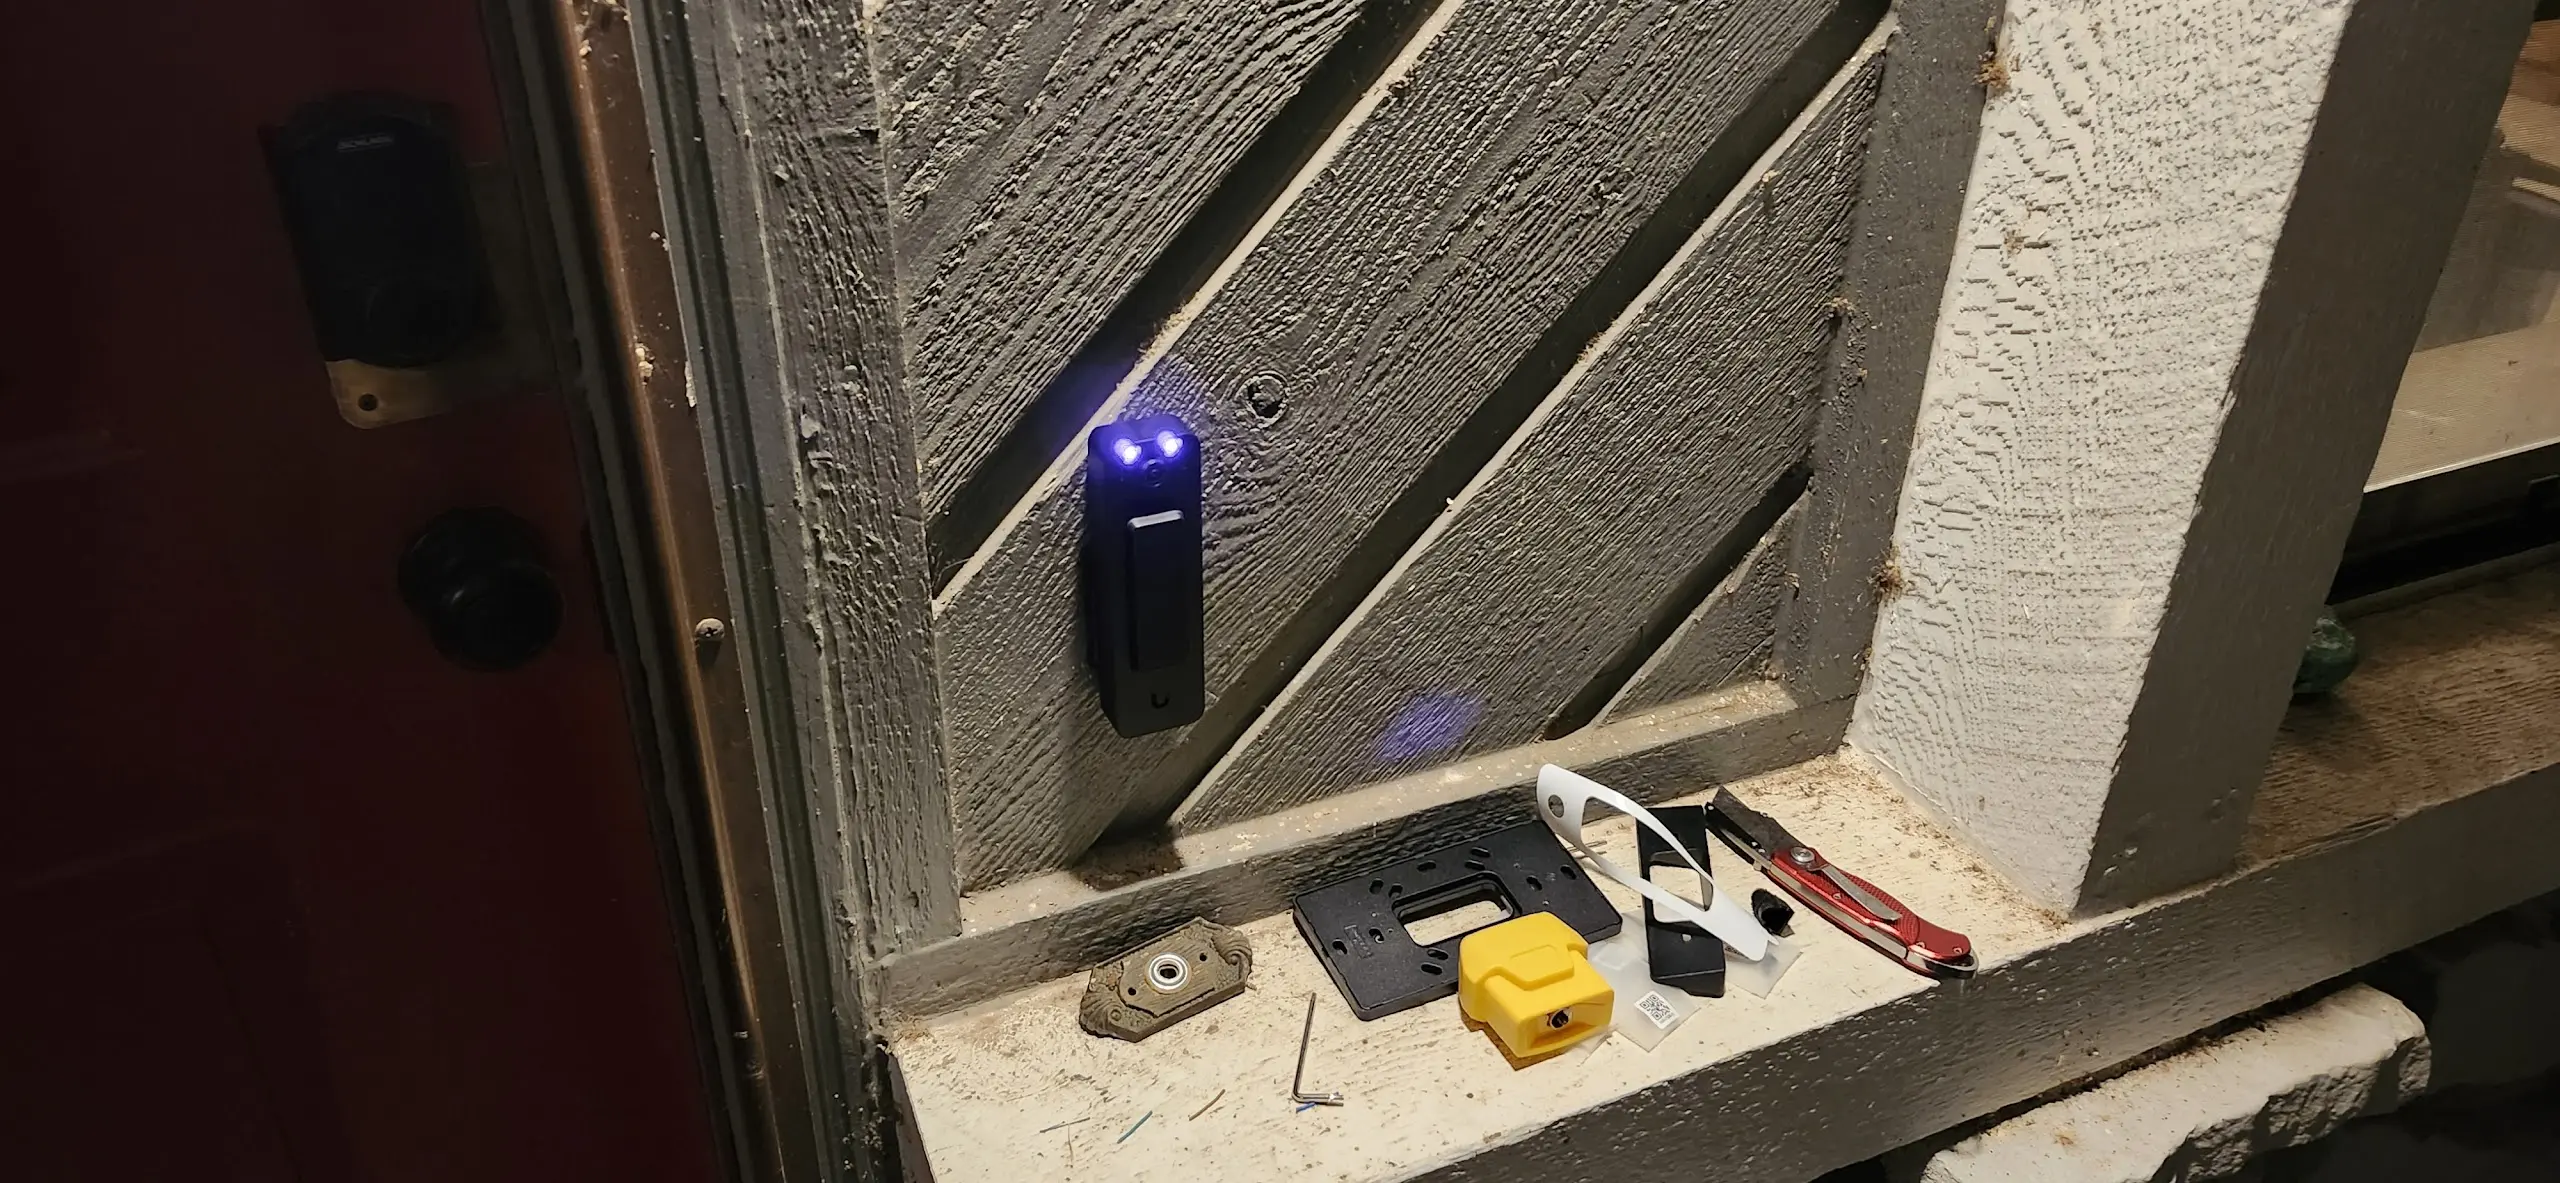
After fiddling with the damn screw for 8 minutes, I finally was able to secure the doorbell to its mount.
(Note- knife was used to cut off the boot from earlier, as it did not fit inside the back of the doorbell)
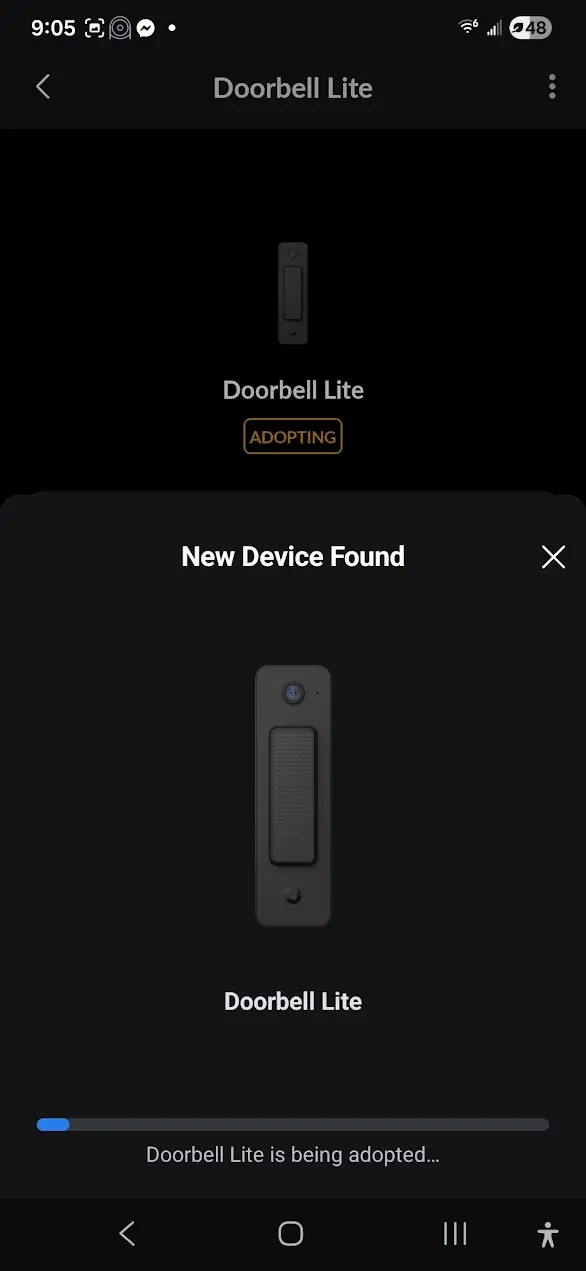
Looking at my phone, Unifi alerted me that it was ready to adopt the doorbell.
And…. after clicking adopt, it adopted. (mac address blanked from picture)
The end result?
End result, is I now have a POE doorbell.
Picture quality, is pretty great too.
Note- its pitch-black out front of my house. All of the light you see is IR from the various cameras.
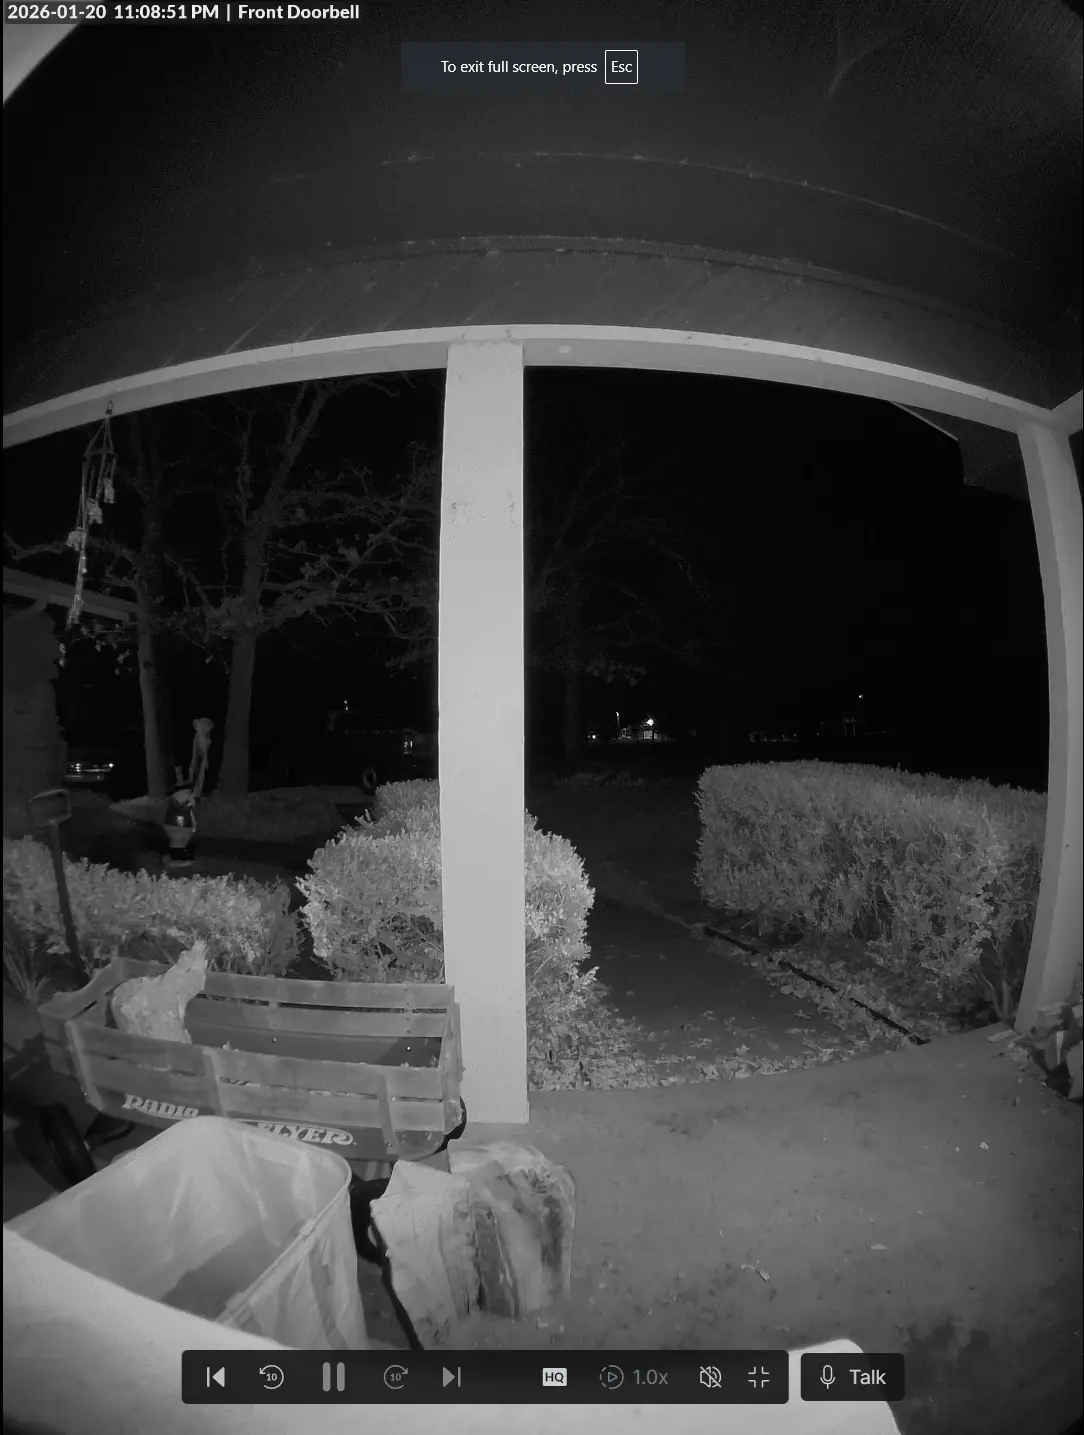
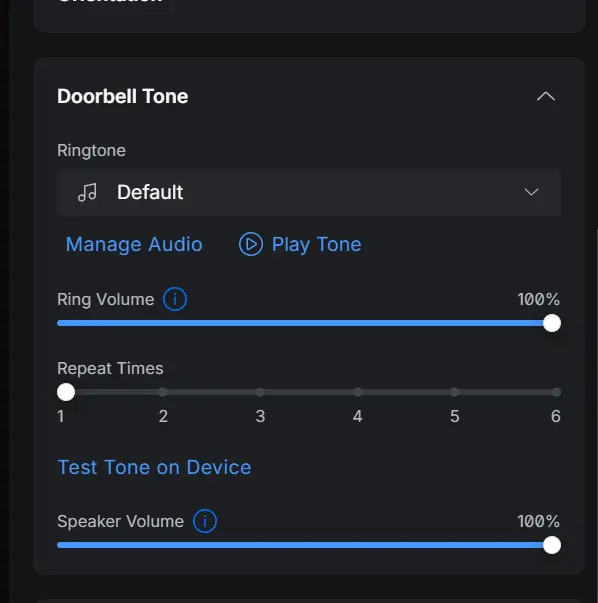
Since, this is the “lite”, there isn't a ton of features. However, it does have two-way audio. And appears to have a customizable ringtone.
Downsides
While, there are menu items for doing AI-based detections…
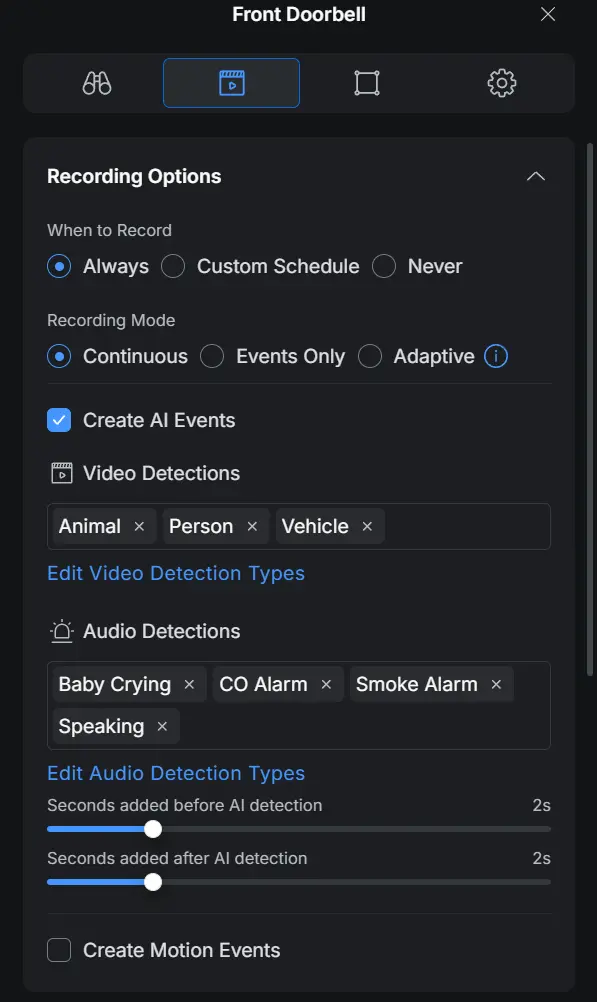
I don't believe this hardware has support for doing any detections. At least, not that I can see in the technical details or data sheets.
If, you planned on leveraging the AI port to instead do detections, do be aware you may run into a limitation trying this.
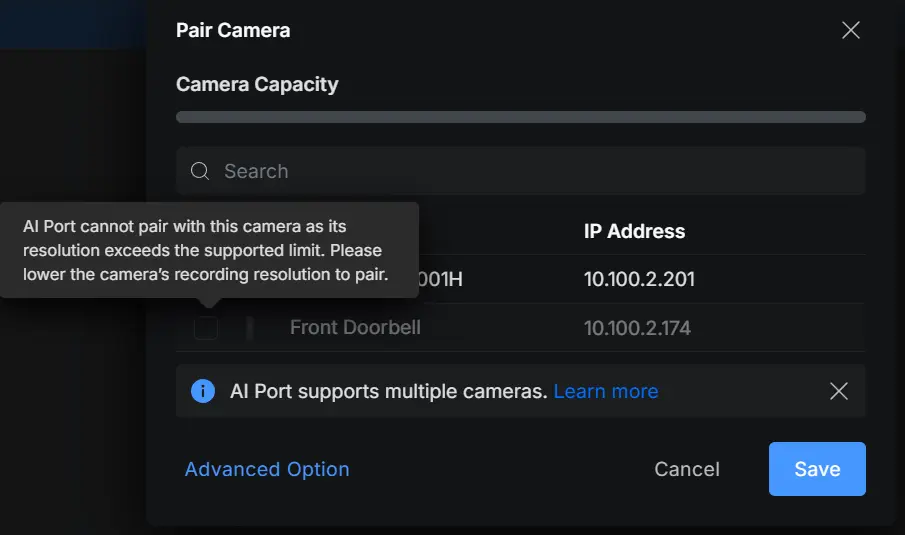
In addition, you MUST buy either a POE chime, or a wifi “smart” chime, if you wish to hear the doorbell ring. The UVC-Doorbell-B does NOT have provisions to connect to an existing doorbell chime…. So umm… please knock for now.
Summary
With the downsides I found listed, I still think its a pretty good deal. The unit feels solid, and unlike other doorbells with a tiny button people are expected to press, this thing has a big massive button which is a nice feature in my opinion.
Disclaimers
Note, I am NOT sponsored or affiliated with Unfi, Klein, or Cable Matters.
All of the products and tools featured in this post, were purchased for myself, specifically to be used. This is not a blog post where I mix and match hardware every week to make youtube channels… This is the documentation from me replacing the 50 year old antique doorbell, with a newer POE doorbell.
In addition, AI was NOT used in ANY part of this post. Matter of fact, I don't even think spell or grammar check was used in this post, outside of the spellchecker addon I use with VSCode.
Amazon Affiliate Links Used
This post DOES include Amazon affiliate links. If you found this content useful, please consider buying the products displayed using the provided links.
You will pay the same amount as normal, however, it does provide a small benefit to me. This benefit is usually used to purchase other products and hardware for which I can review / blog about.
I do not display advertisements on this site. As such, the only compensation from this service, comes from affiliate links. I do not ask for, or even accept donations.